Connect from WARP to a private network on Cloudflare using Cloudflare Tunnel
You can use Cloudflare Tunnel to connect applications and services to Cloudflare’s network. Cloudflare Tunnel relies on a piece of software, cloudflared, to create those connections.
You can create and configure Cloudflare Tunnel connections to support multiple HTTP origins or multiple protocols simultaneously . You can also use Cloudflare Tunnel to connect any service that relies on a TCP-based protocol to Cloudflare’s network. Users in your organization can then reach the service by enrolling into your organization’s Zero Trust account and using the WARP agent.
Once enrolled, user endpoints will be able to connect to private RFC 1918 IP space and other ranges that you control. Applications running on those endpoints will be able to reach those private IPs as well in a private network model. Coming soon, administrators will be able to build Zero Trust rules to determine who within your organization can reach those IPs.
🗺️ This tutorial covers how to:
- Start a secure, outbound-only, connection from a machine to Cloudflare
- Assign the machine an IP that can consist of an RFC 1918 IP address or range
- Connect to that private IP space from an enrolled WARP agent without client-side configuration changes
- Connect using any TCP-based protocol
⏲️ Time to complete: 45 minutes
Install cloudflared
Start by downloading and installing the Cloudflare Tunnel daemon, cloudflared. On Mac, you can do so by running the following brew command. If you do not have Homebrew, follow the documentation to install it.
$ brew install cloudflare/cloudflare/cloudflared
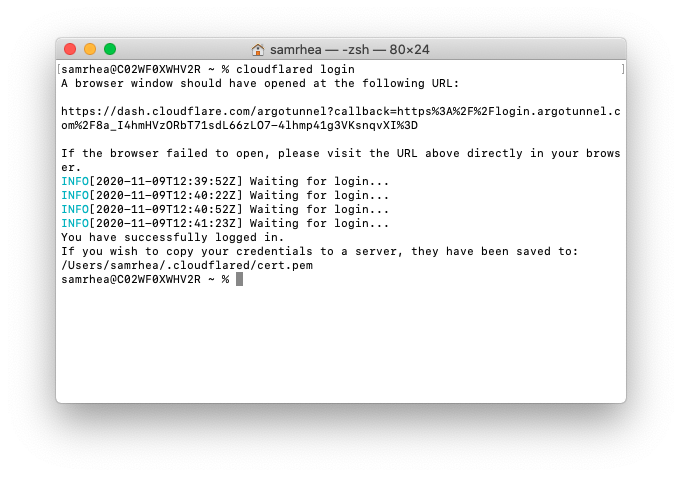
Once installed, run the following command in your Terminal to authenticate this instance of cloudflared into your Cloudflare account.
$ cloudflared login
The command will launch a browser window and prompt you to login with your Cloudflare account. Choose a website that you have added into your account. This will authenticate your instance of cloudflared to your Cloudflare account; you will be able to create a Tunnel for any site, not just the site selected.
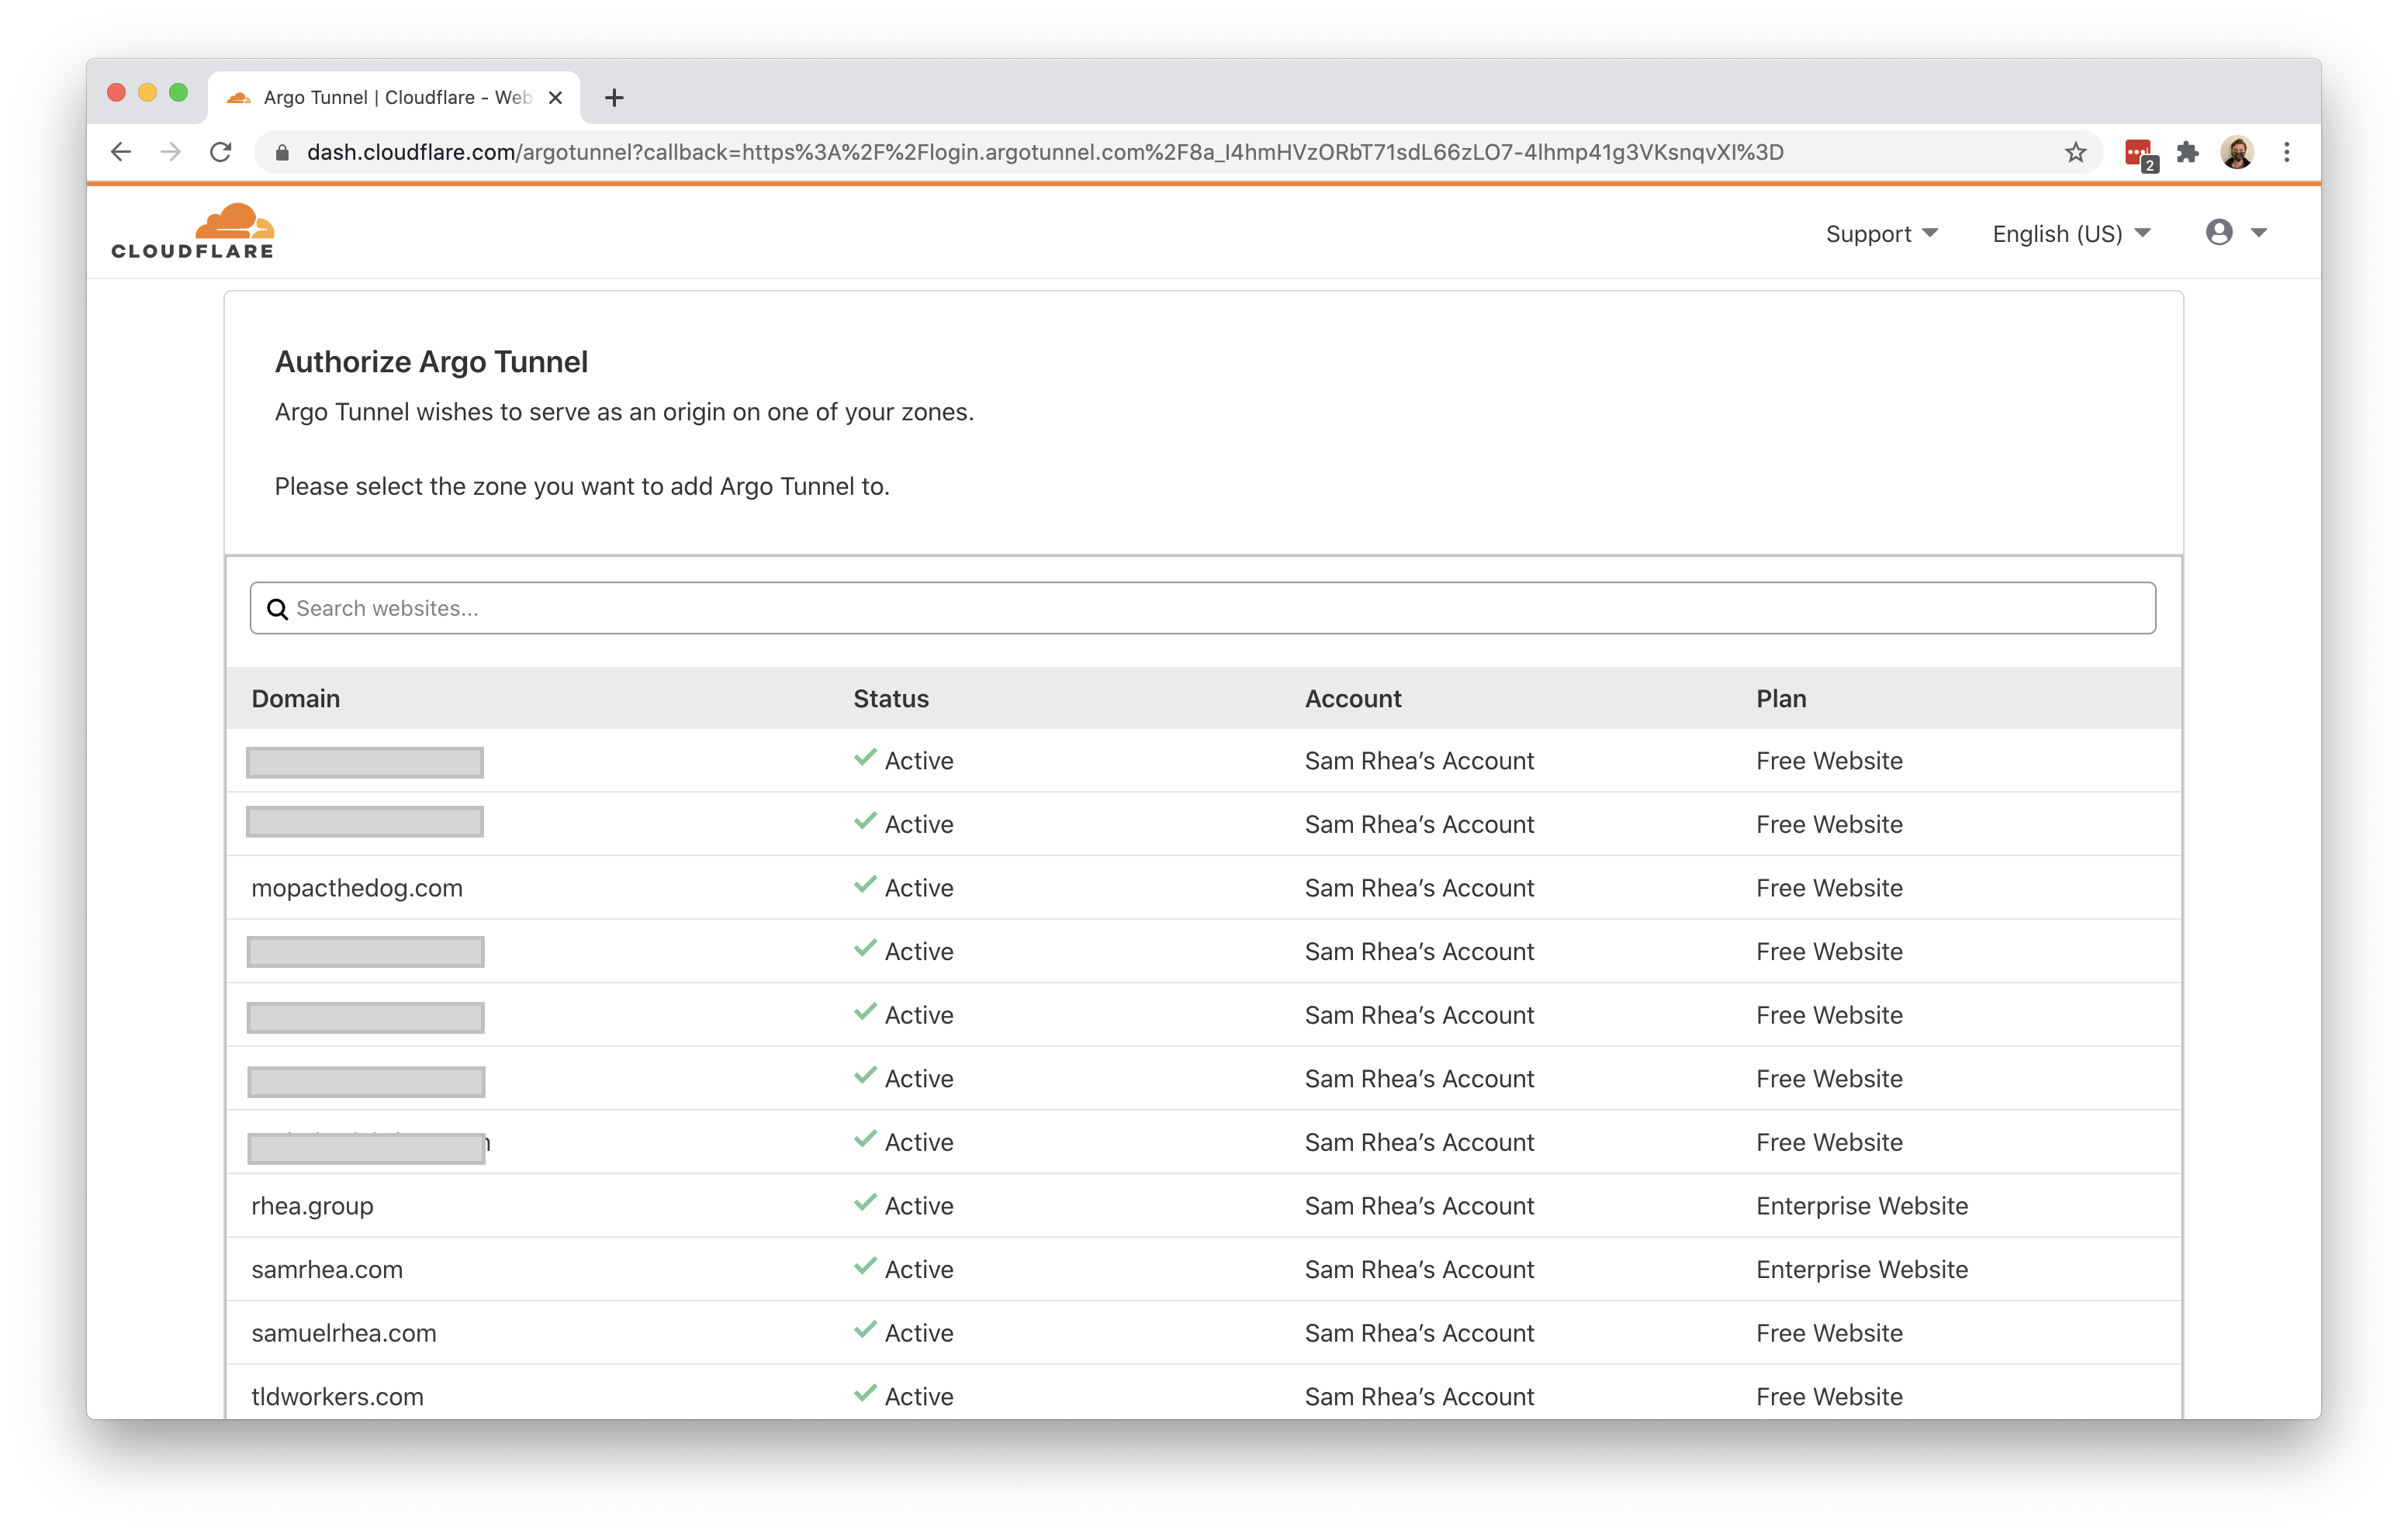
Once you click one of the sites in your account, Cloudflare will download a certificate file, called cert.pem to authenticate this instance of cloudflared. The cert.pem file uses a certificate to authenticate your instance of cloudflared and includes an API key for your account to perform actions like DNS record changes.
You can now use cloudflared to control Cloudflare Tunnel connections in your Cloudflare account.
Create a Tunnel
You can now create a Tunnel that will connect cloudflared to Cloudflare’s edge.
Begin by creating a Tunnel with an associated name. This example uses the name grafana.
cloudflared tunnel create grafana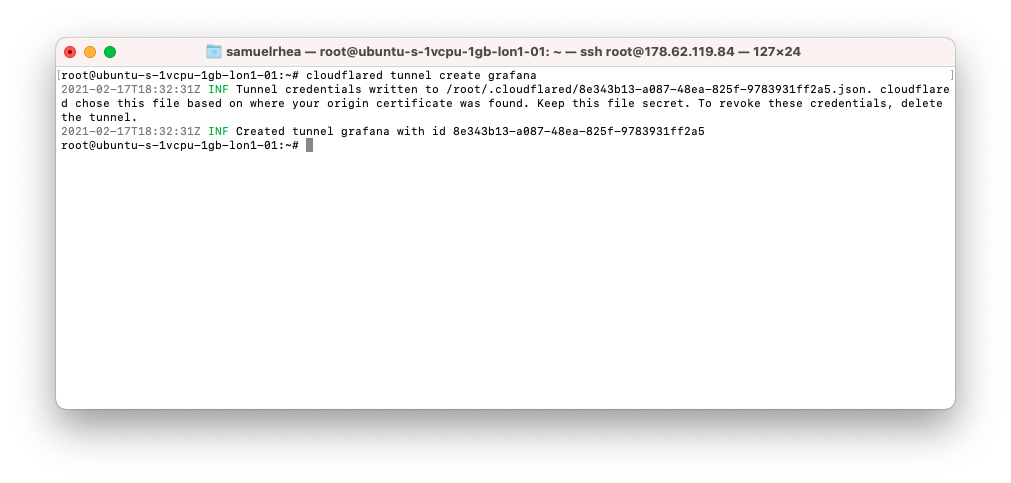
You can confirm the ID of the Tunnel by running the following command.
cloudflared tunnel list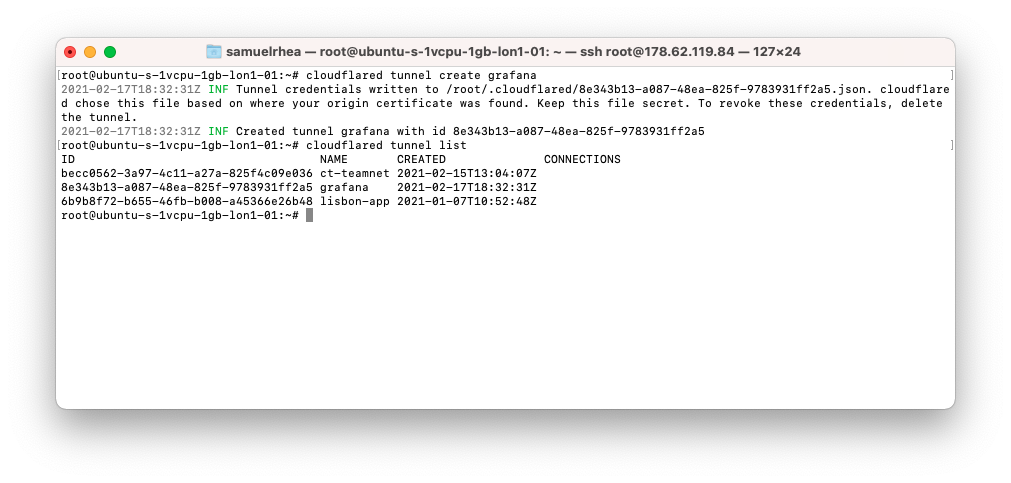
Next, you will need to create a route. Routes map a Tunnel ID to a CIDR range that you specify. You can use private IP space specified by RFC 1918 or other routes. The private IP space specified should match the private IP space of your subnet or environment where Cloudflare Tunnel will send connections.
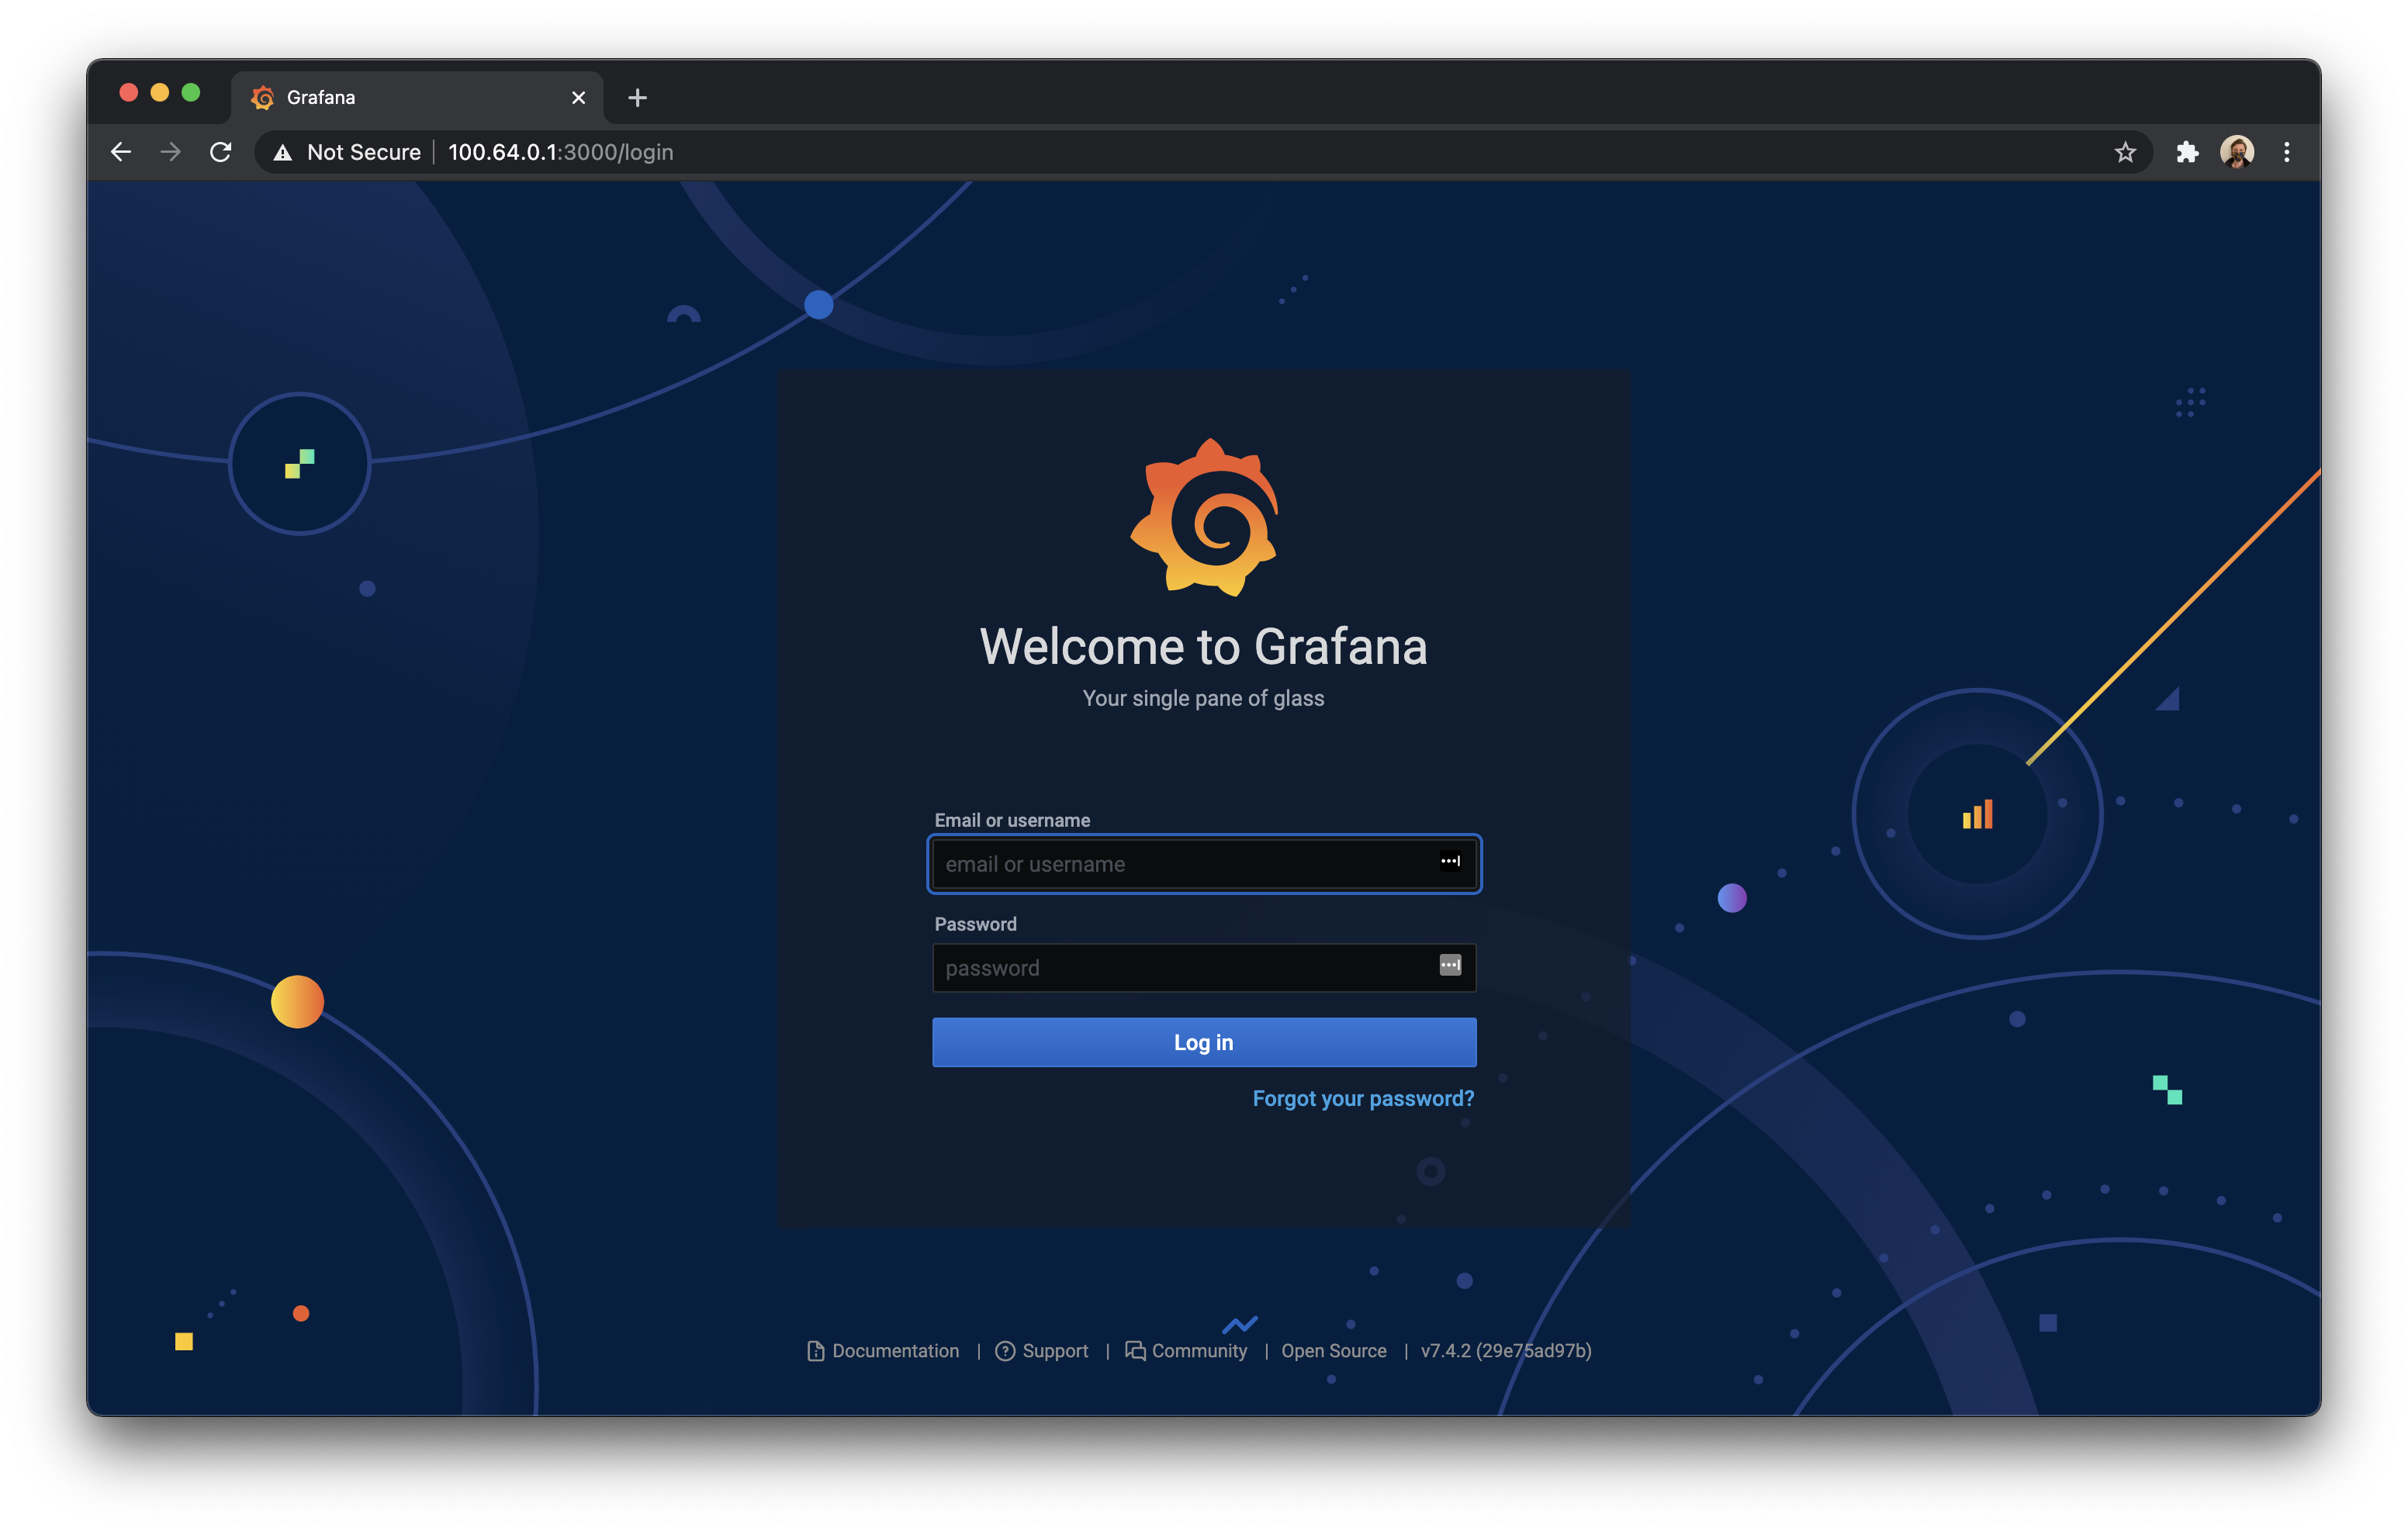
This example tells Cloudflare Tunnel that, for users in this organization, connections to 100.64.0.0/10 should be served by this Tunnel. For the purposes of this tutorial, Grafana is running in a Digital Ocean environment where a virtual interface has been applied that will send traffic bound for localhost to 100.64.0.1.
cloudflared tunnel route ip add 100.64.0.0/10 8e343b13-a087-48ea-825f-9783931ff2a5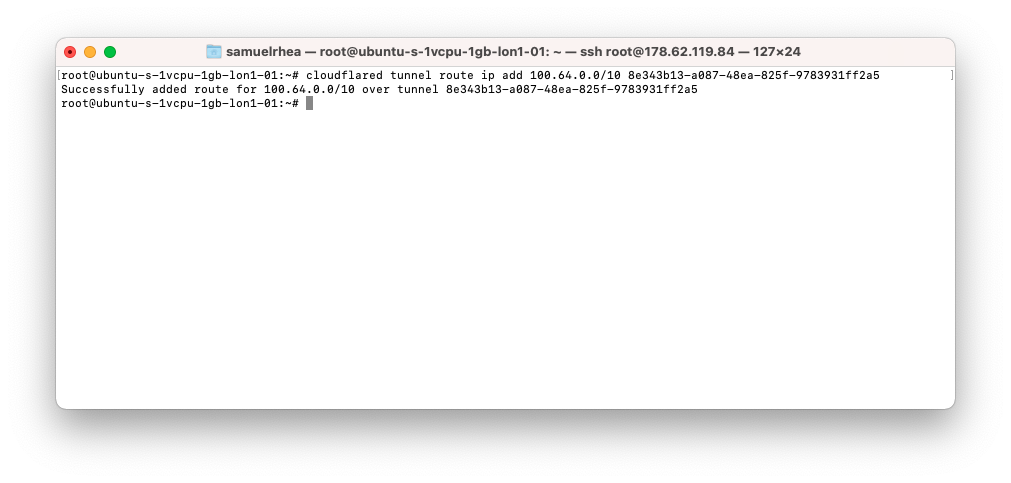
Similar to the list command, you can confirm the routes enrolled with the following command.
cloudflared tunnel route ip show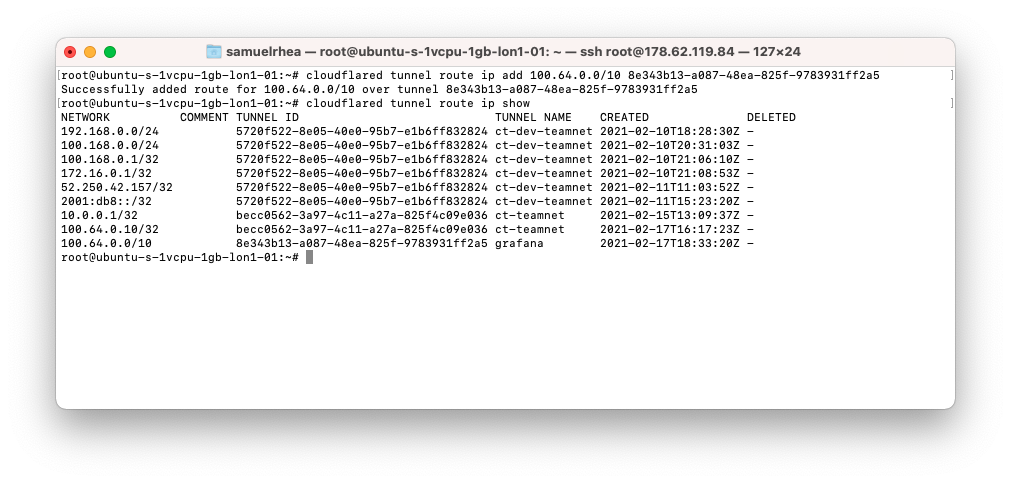
Configure and run the Tunnel
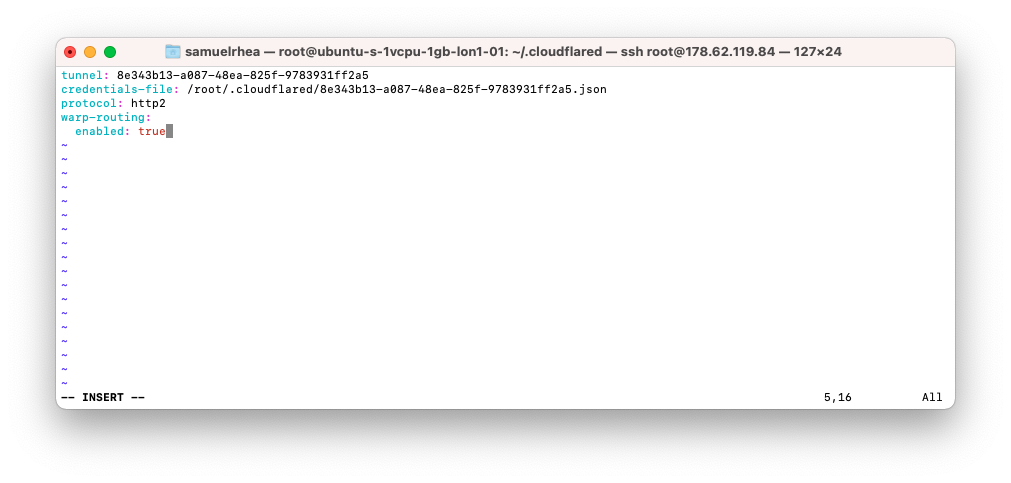
Next, create a configuration file for the tunnel in the .cloudflared default directory. The following template contains the required fields but can be further modified as needed.
tunnel: 8e343b13-a087-48ea-825f-9783931ff2a5credentials-file: /root/.cloudflared/8e343b13-a087-48ea-825f-9783931ff2a5.jsonwarp-routing: enabled: true
You can now run the Tunnel. The command below will connect this instance of cloudflared to Cloudflare’s network. Traffic inside of your organization, from enrolled WARP agents, will be sent to this instance when the destination is this private IP range.
cloudflared tunnel run grafanaThis example runs it from the command-line but we recommend running cloudflared as a service for long-lived connections.
Route private IP ranges through WARP
Users can reach this private service by logging in to their Zero Trust account and the WARP agent.
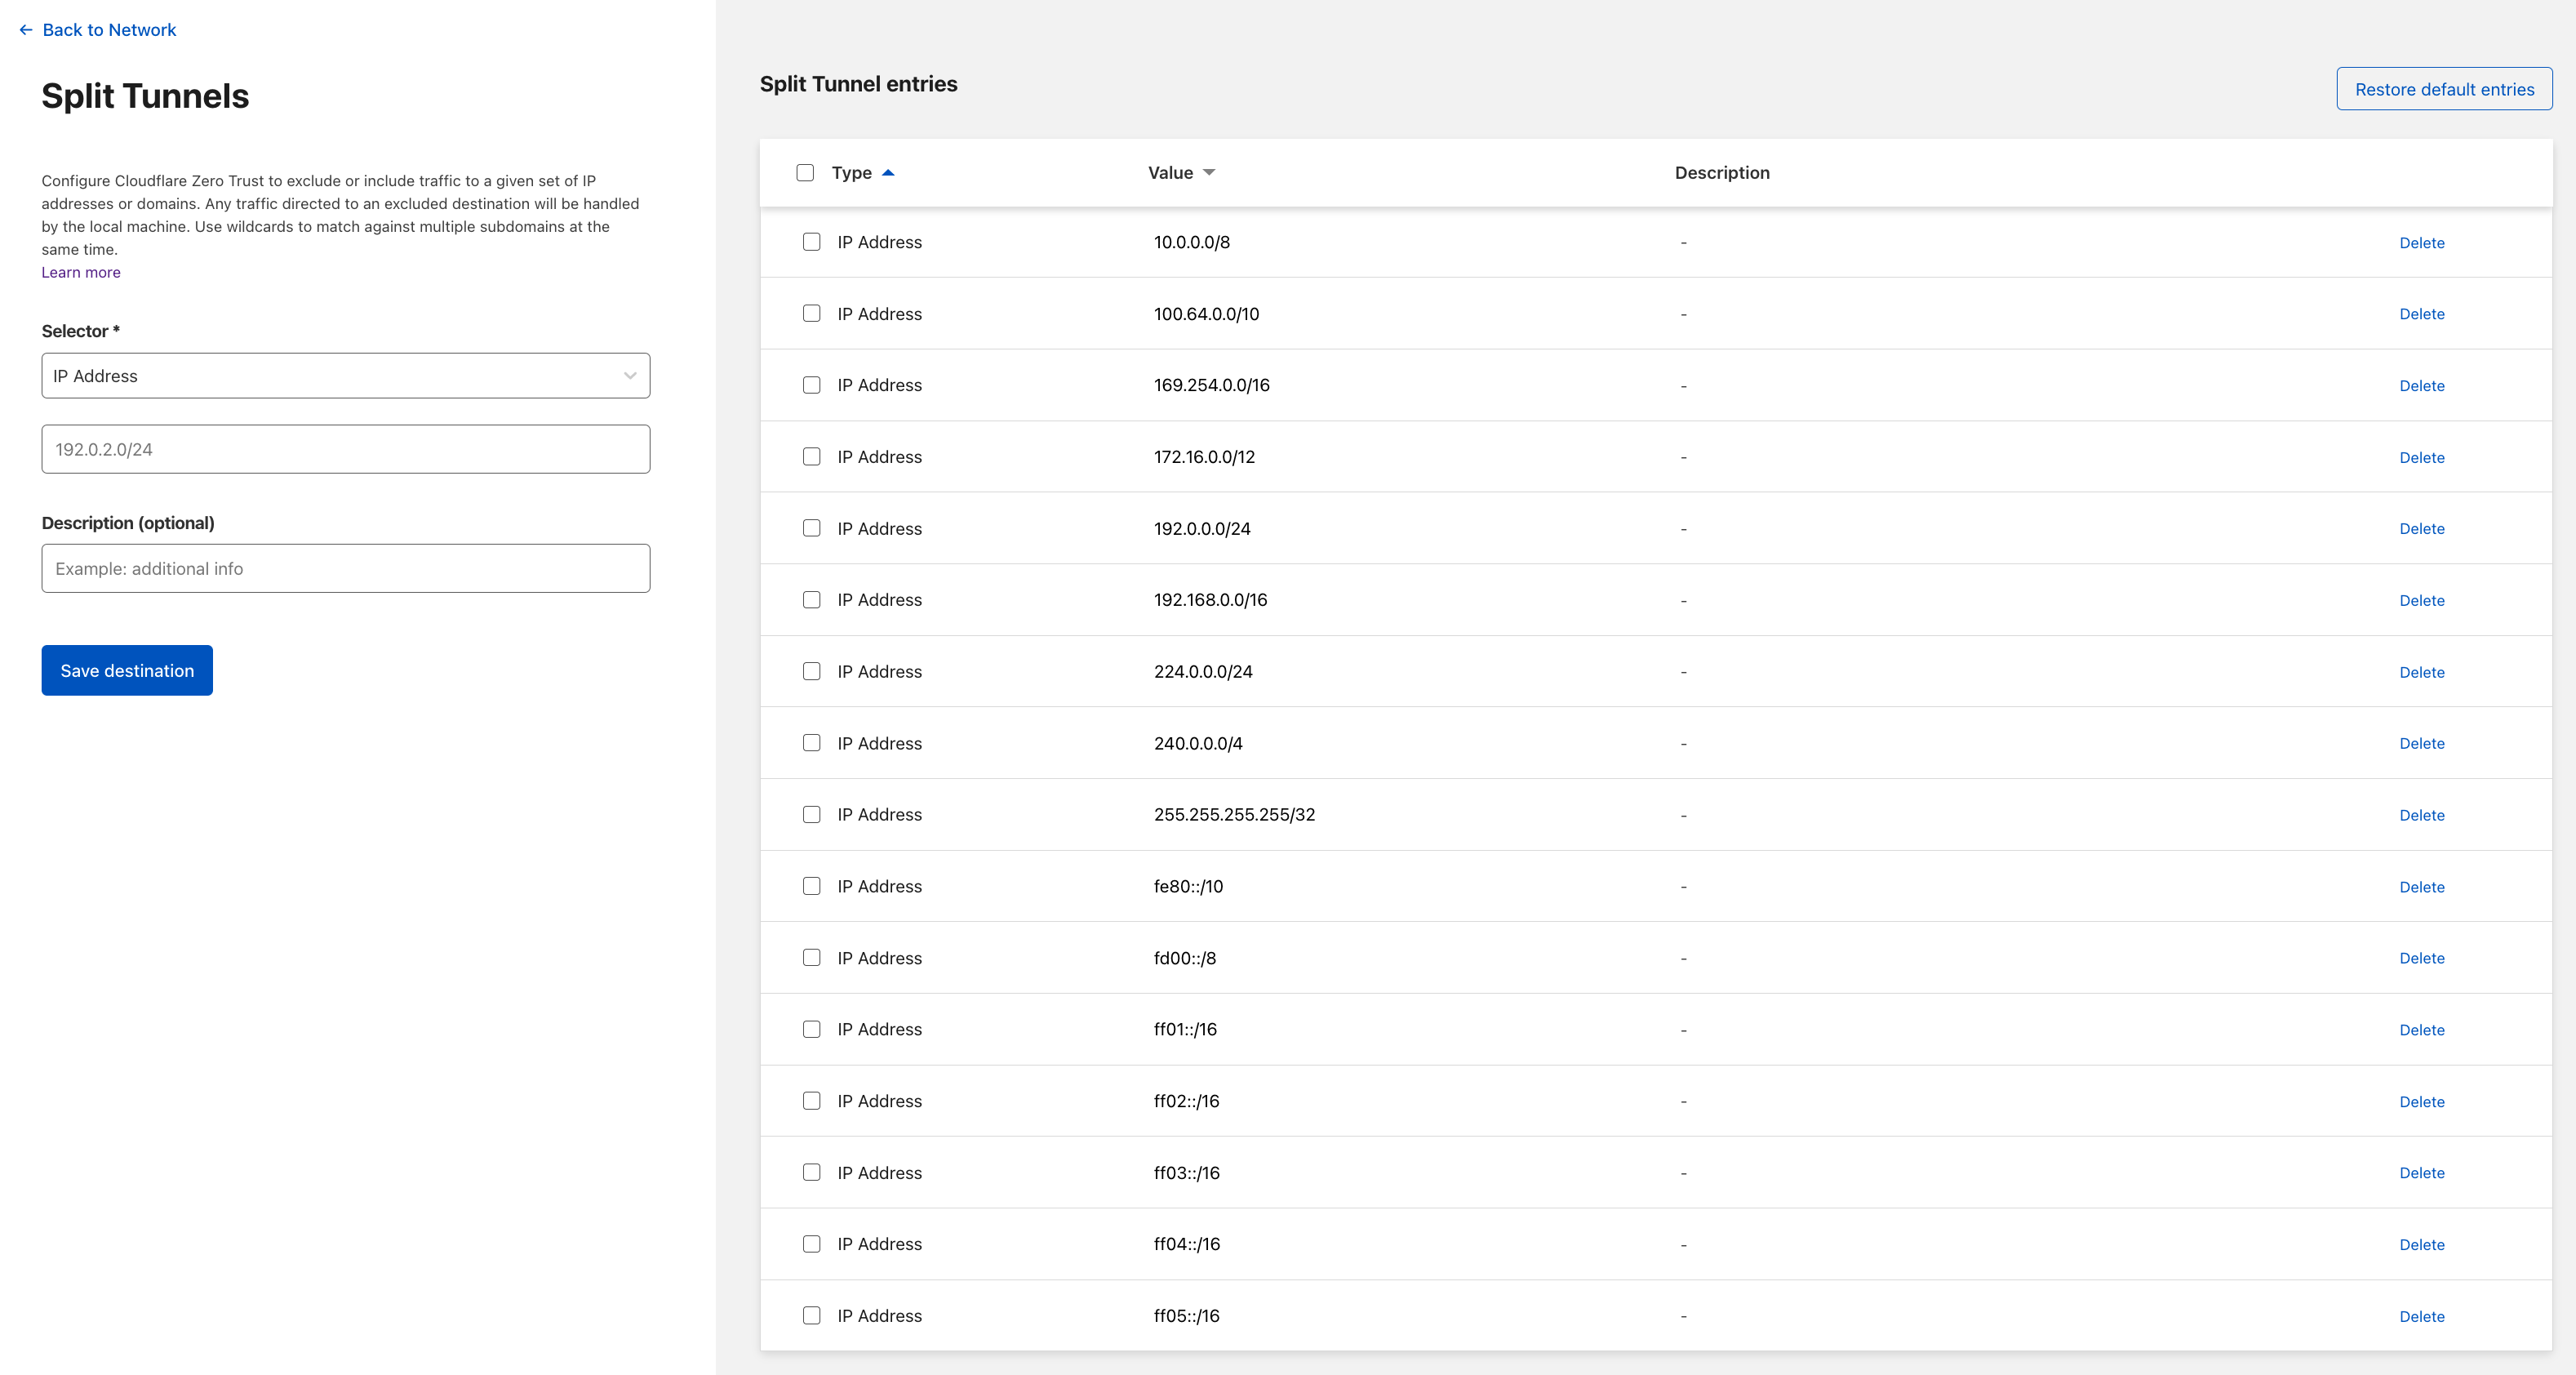
By default, Cloudflare WARP excludes traffic bound for RFC 1918 space and certain other routes as part of its Split Tunnel feature . To use this feature the IPs that you specified for your Tunnel must be included which will send traffic for those destinations through the WARP agent and to the Tunnel.
On the Zero Trust Dashboard, navigate to Settings > Network.
Click Manage. The IP ranges listed are those that Cloudflare excludes by default. Choose the range being used for this private connection and delete it.
Integrate your identity provider
Users can now connect over this private network by enrolling their devices into the WARP agent in the same account as the Cloudflare Tunnel configuration. They must use the Gateway with WARP mode.
You can begin to enroll devices by determining which users are allowed to enroll.
Navigate to the Settings section of the Zero Trust dashboard and select Authentication. Cloudflare Zero Trust will automatically create a “One-time PIN” option which will rely on your user’s emails. You can begin using the one-time PIN option immediately or you can also integrate your corporate identity provider
.
Determine which devices can enroll
Next, build a rule to decide which devices can enroll in your account.
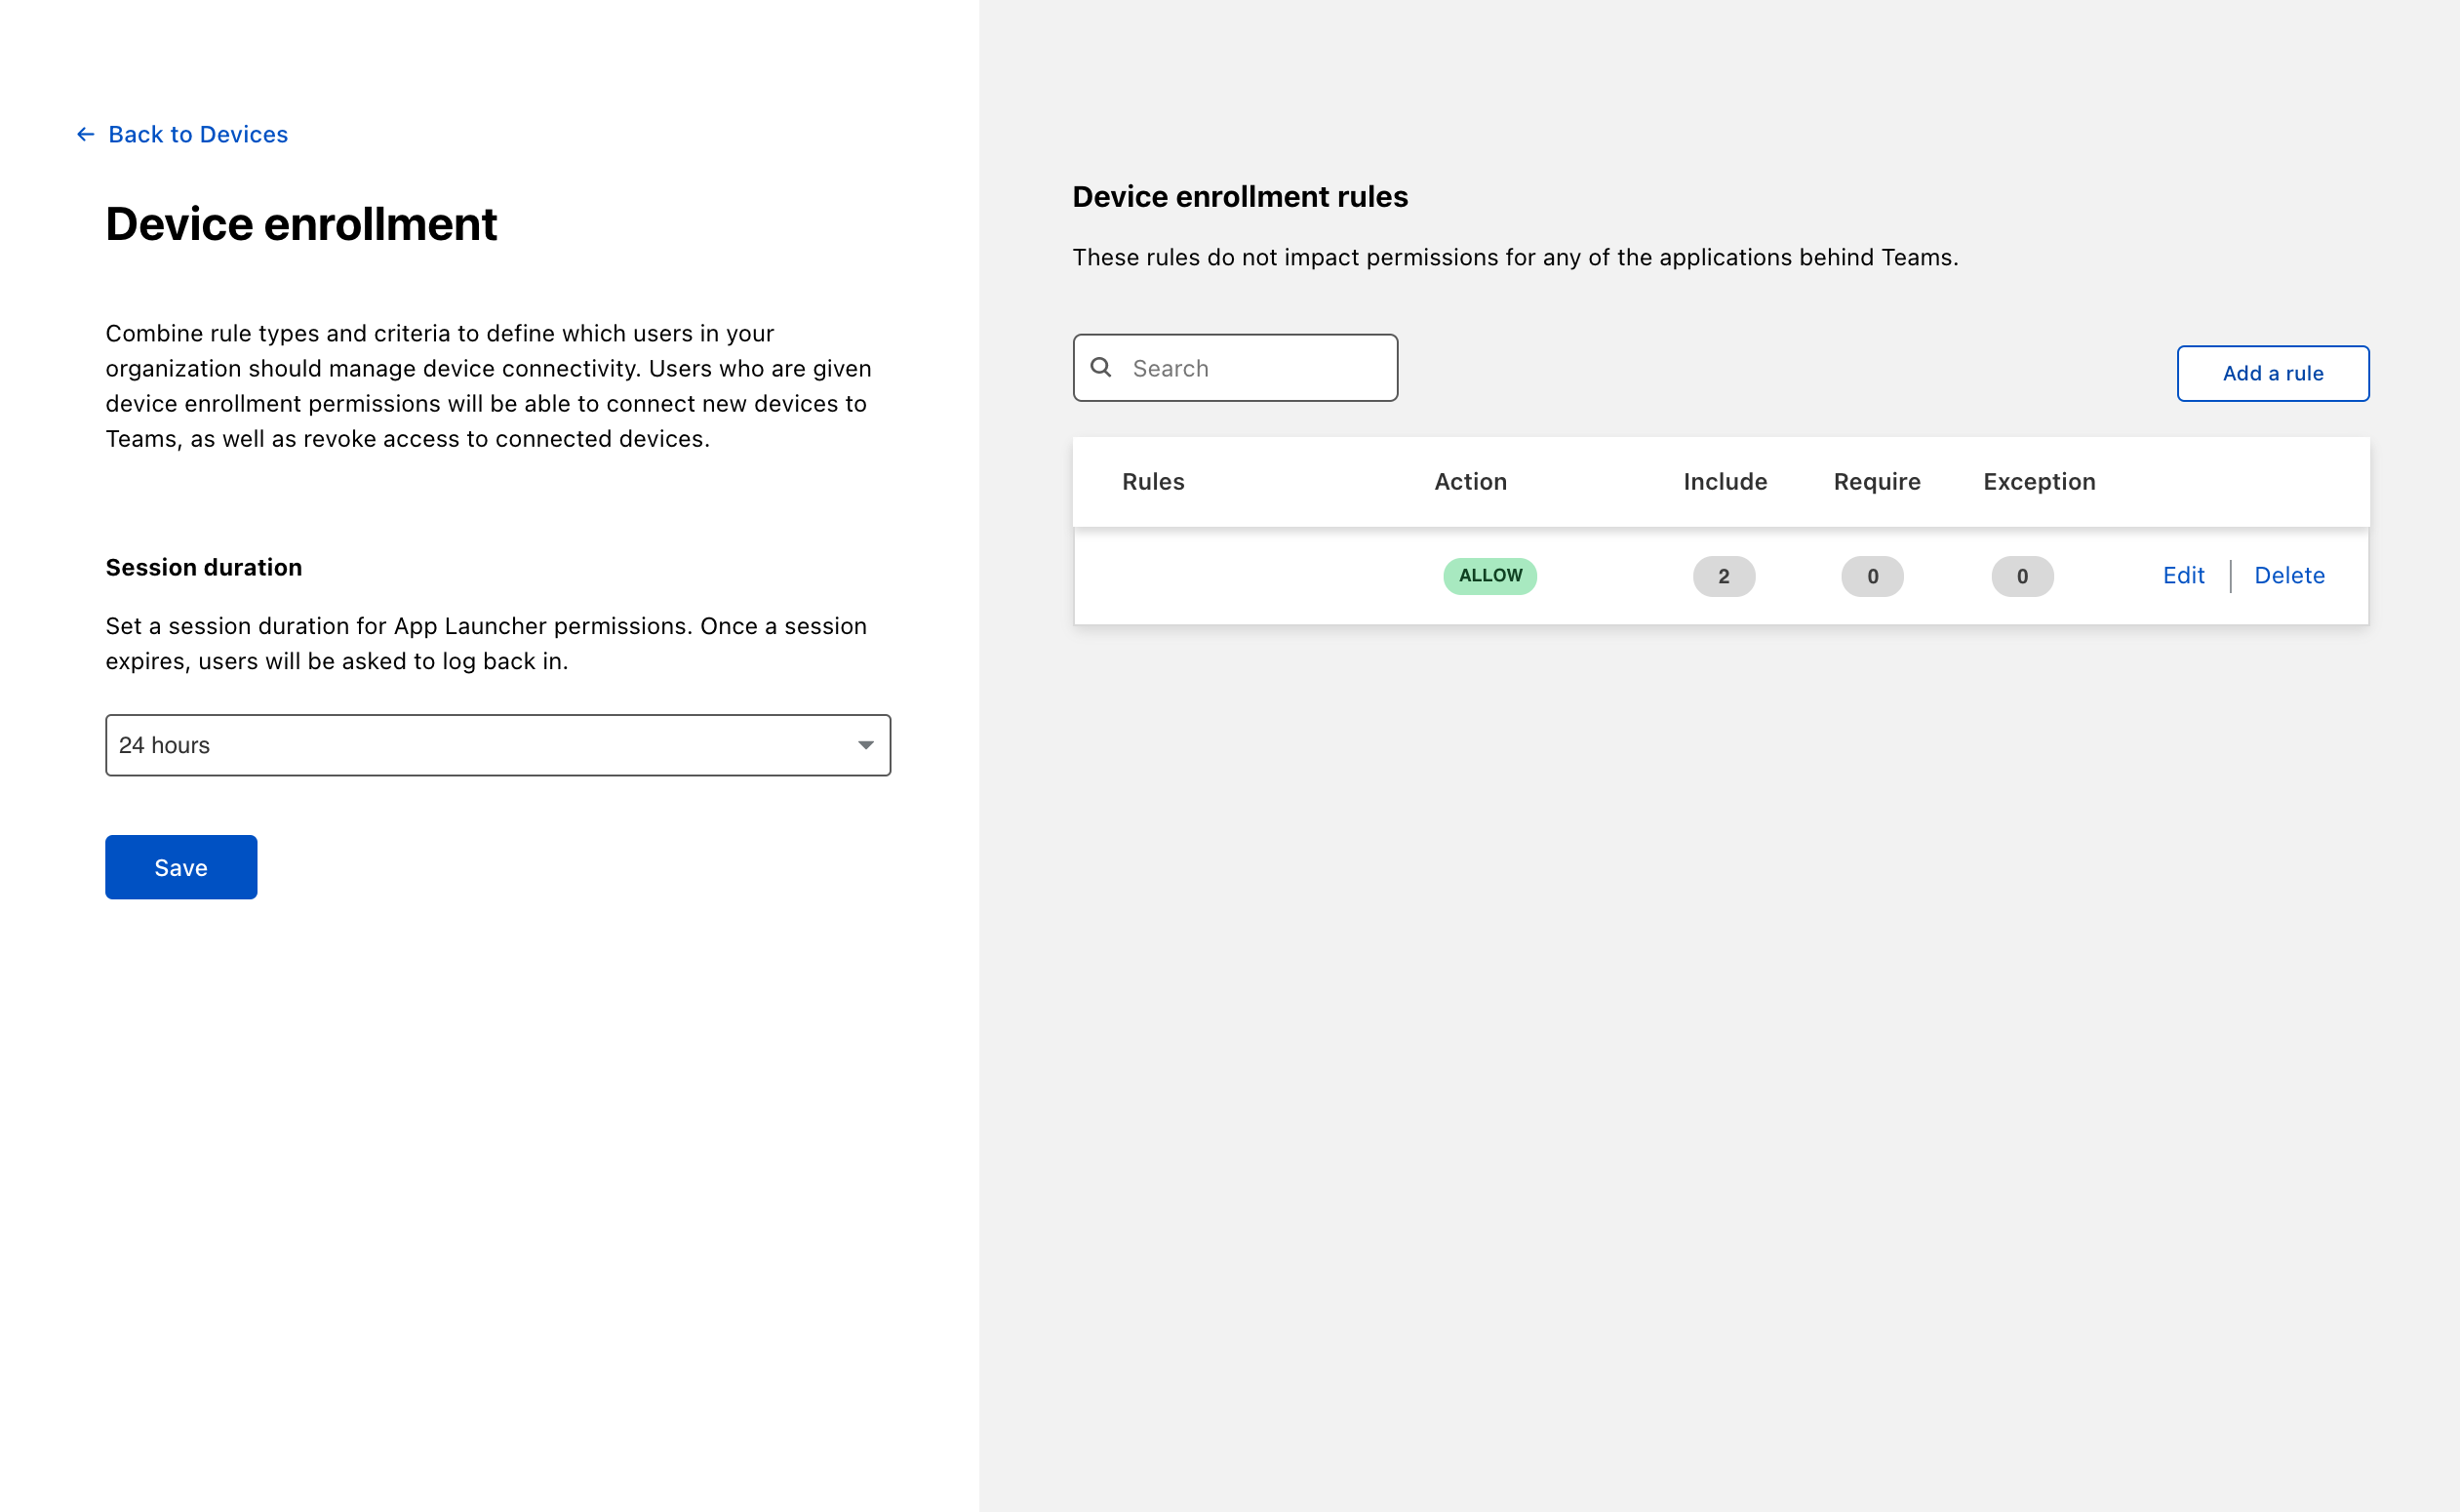
Navigate to Settings > Devices > Device enrollment.
Click Manage.
Click Add a rule.
Determine who is allowed to enroll by using criteria including Access groups, groups from your identity provider, email domain, or named users. This example allows any user with a
@cloudflare.comaccount to enroll.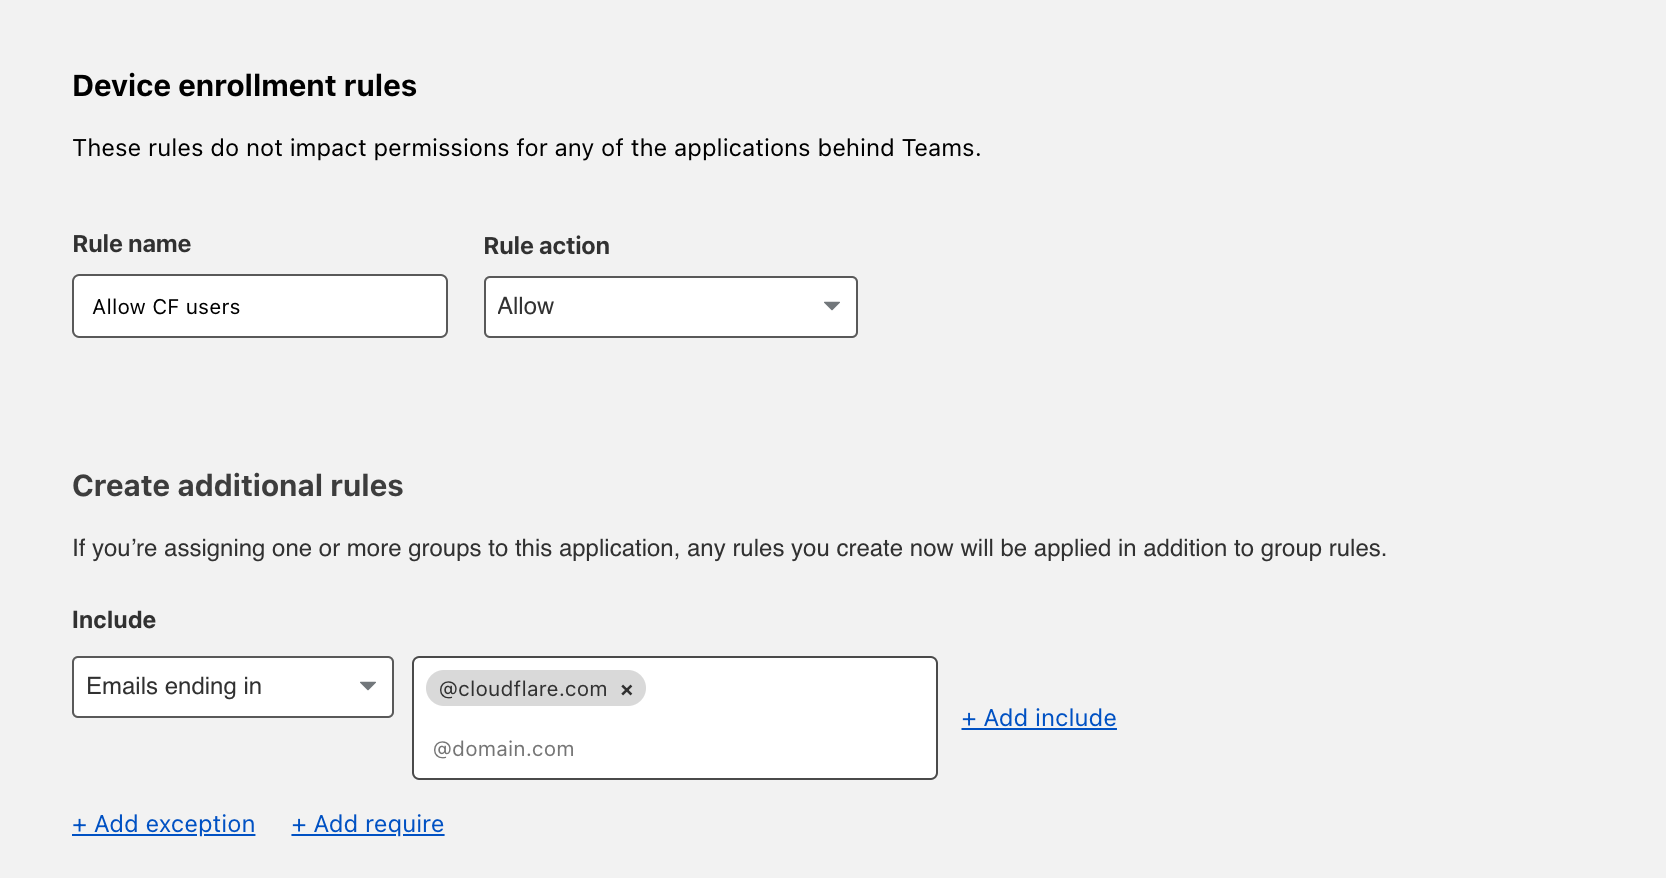
Click Save.
Your rule will now be visible under the Device enrollment rules list.
Configure the Cloudflare certificate
To inspect traffic, Cloudflare Gateway requires that a certificate be installed on enrolled devices. You can also distribute this certificate through an MDM provider. The example below describes the manual distribution flow.
To download the Cloudflare certificate:
- Follow the link provided in these instructions .
- Find the certificate in the Zero Trust Dashboard, by navigating to Settings > Devices > Certificates.
Enable the Cloudflare proxy
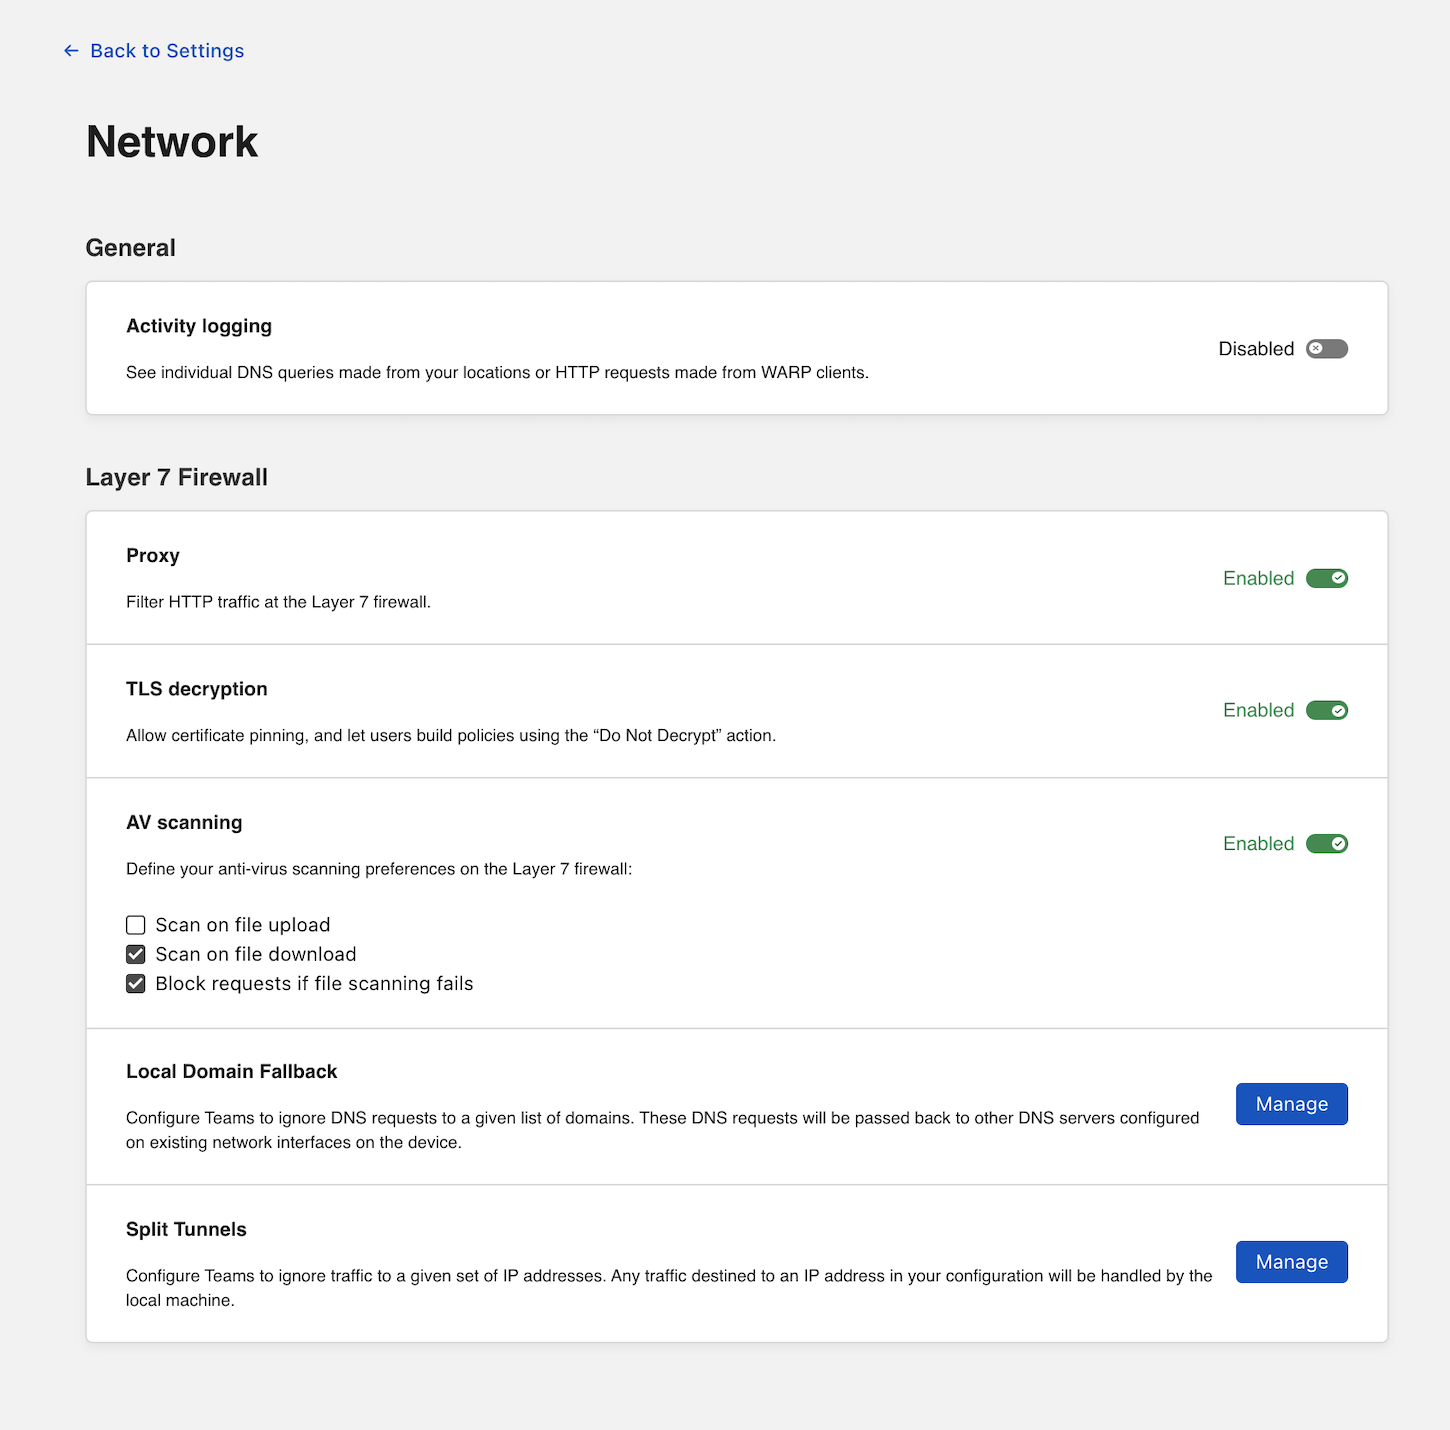
Once the certificate has been installed, you can configure Gateway to inspect HTTP traffic. To do so, navigate to Settings > Network. Toggle Proxy to Enabled. This will tell Cloudflare to begin proxying any traffic from enrolled devices, except the traffic excluded using the split tunnel settings.
Next, enable TLS decryption. This will tell Cloudflare to begin decrypting traffic for inspection from enrolled devices, except the traffic excluded from inspection.
Enroll a device
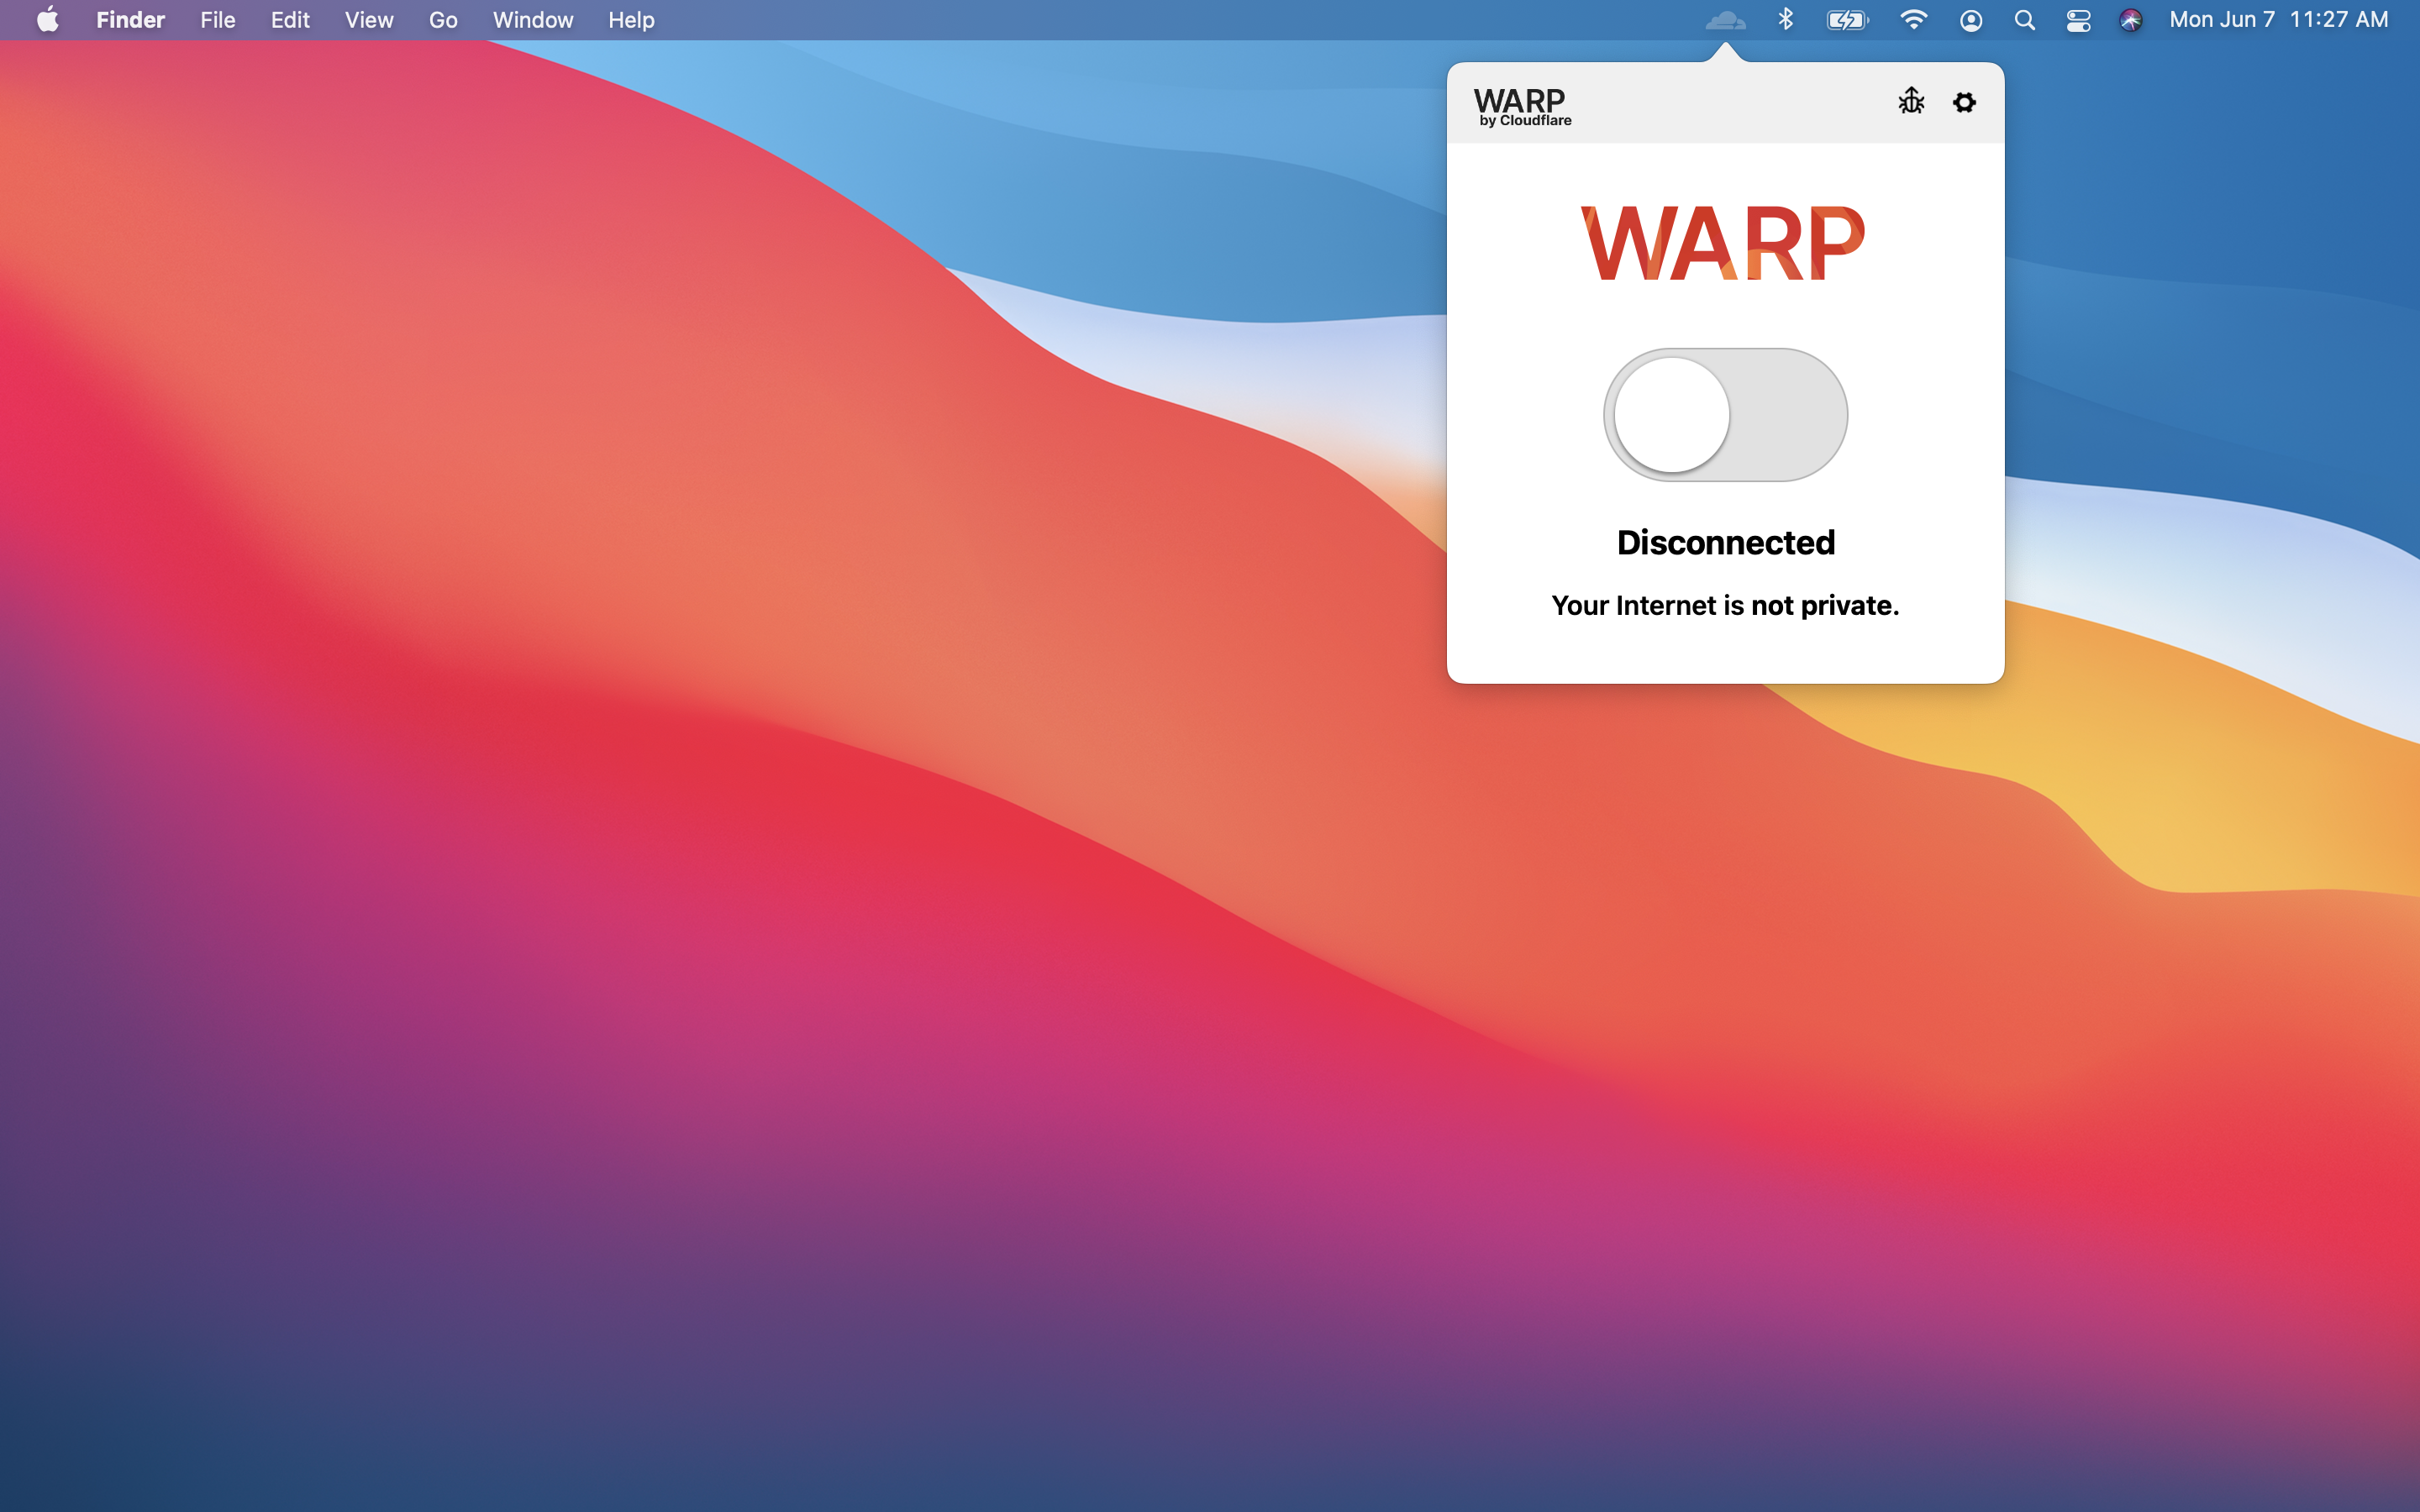
Follow the instructions to install the WARP client depending on your device type. Cloudflare Gateway does not need a special version of the client.
Once the client is installed, click the gear icon.
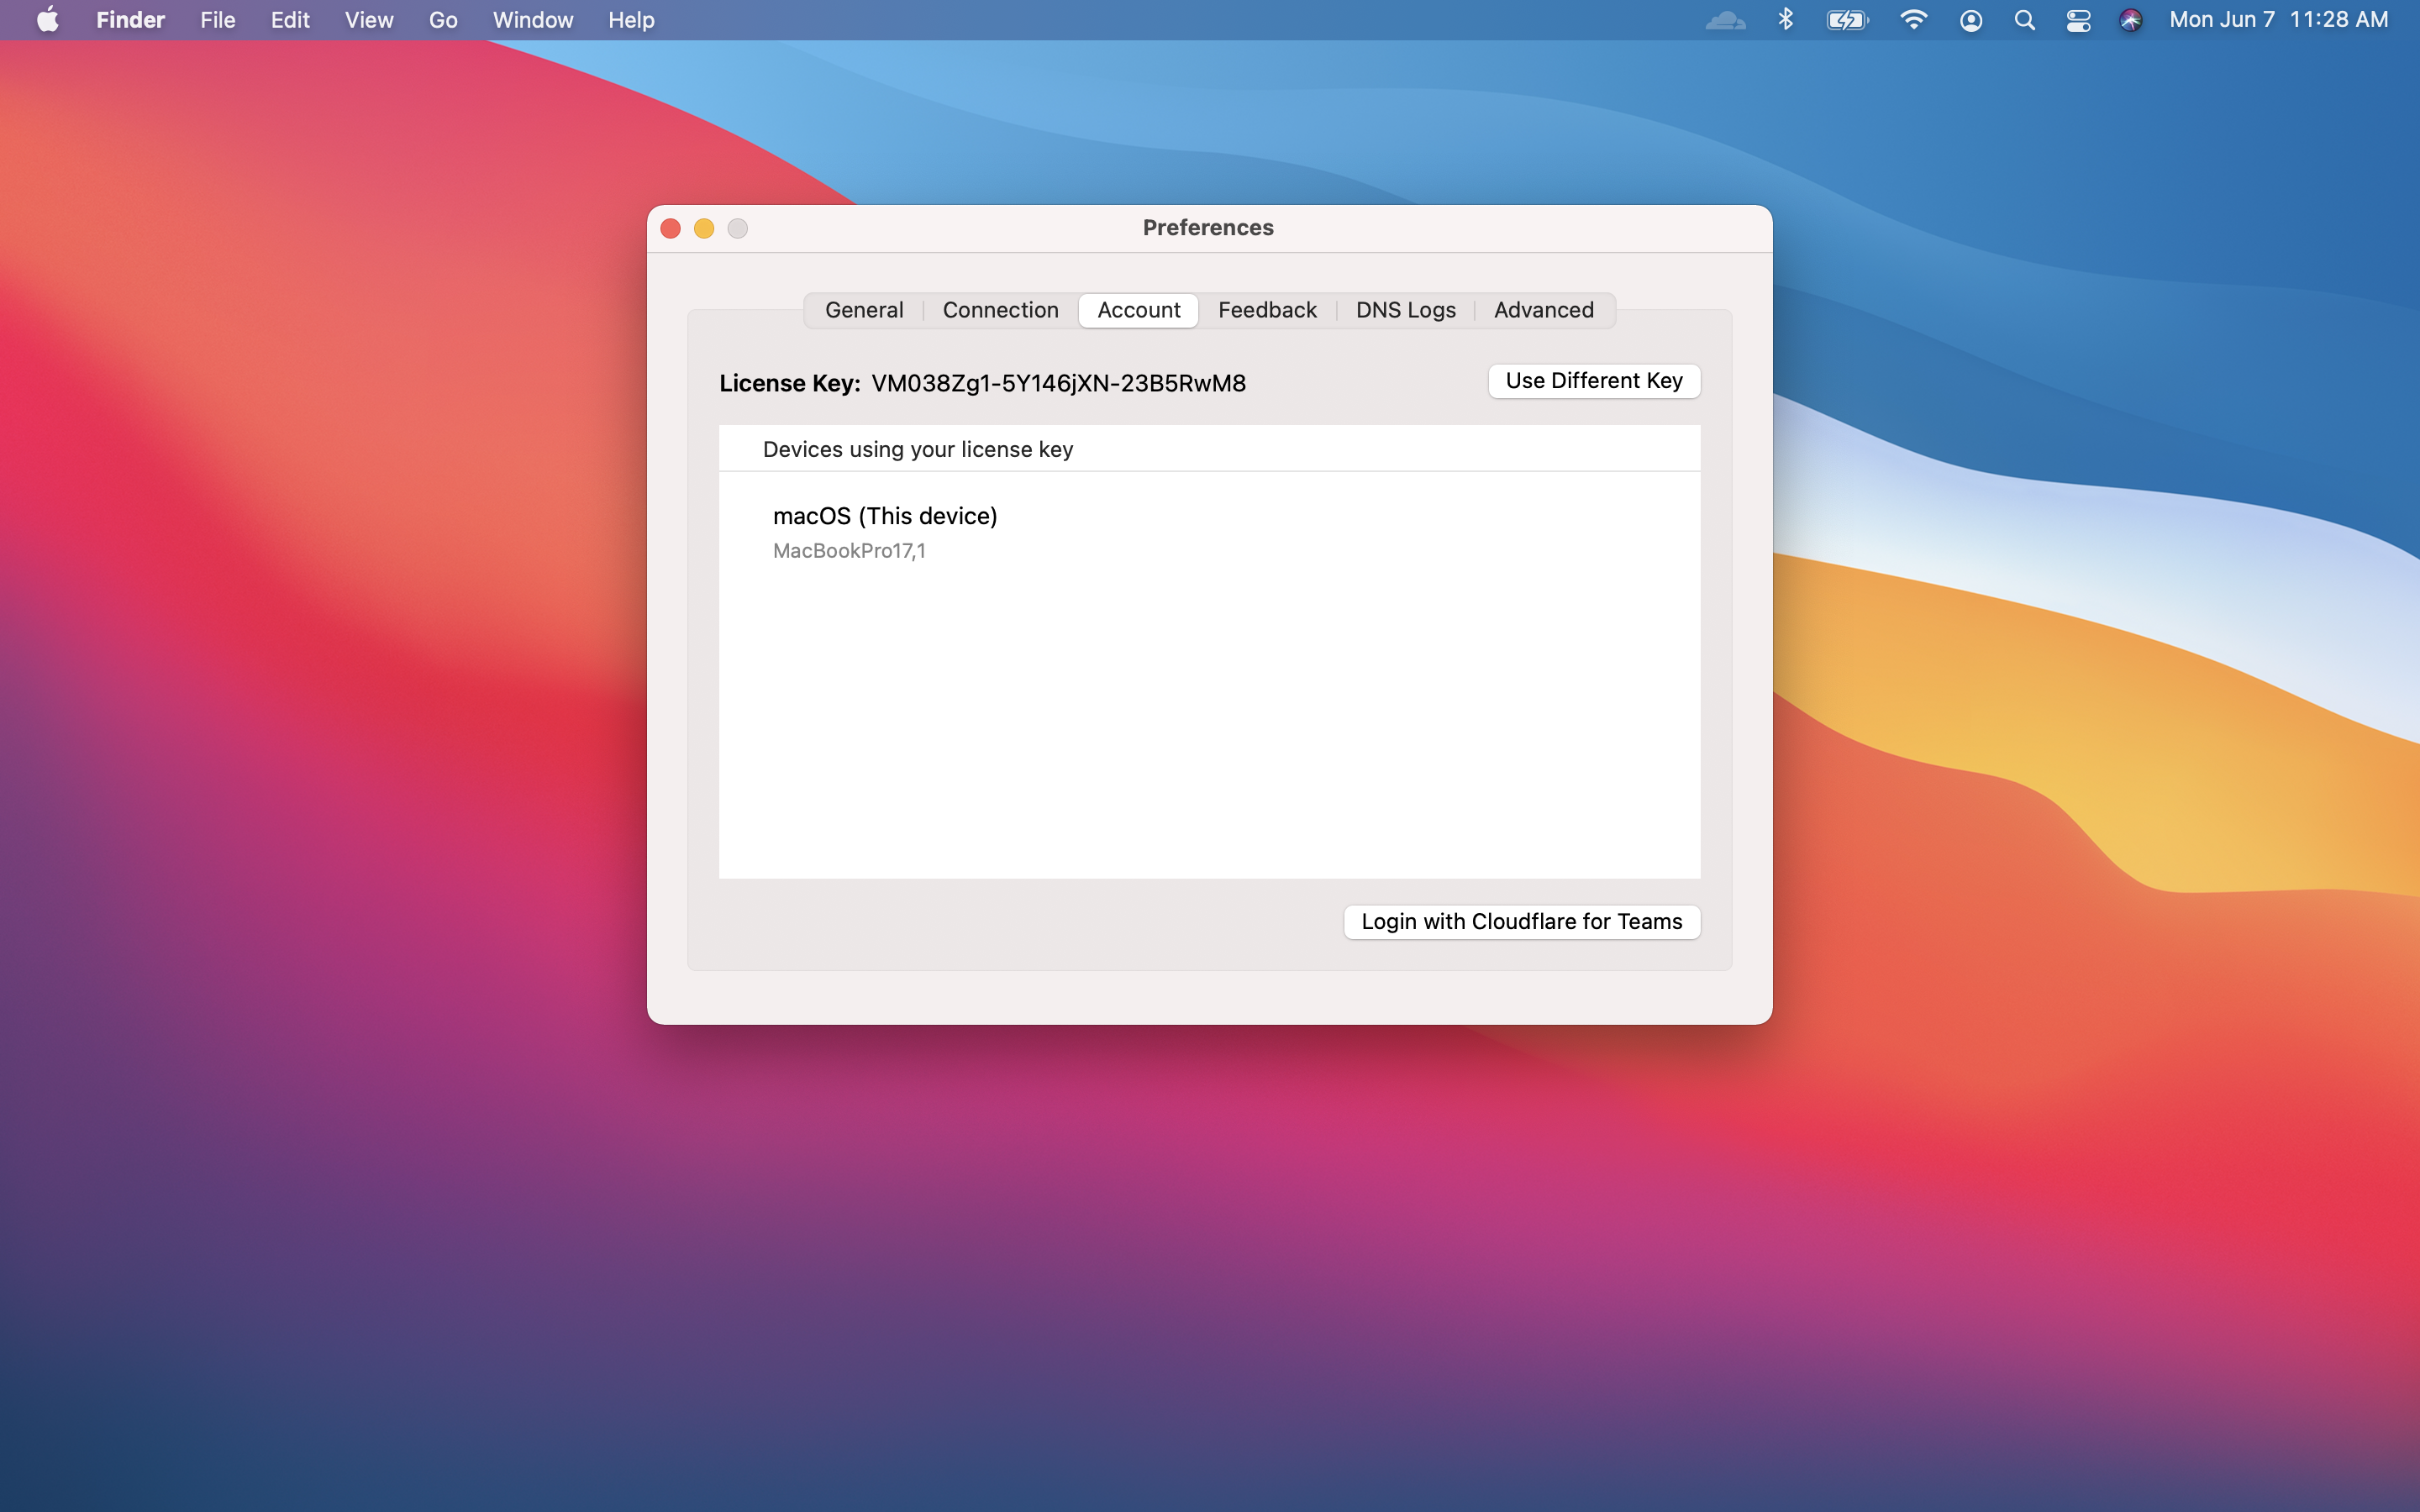
Under the Account tab, click Login with Cloudflare for Teams.
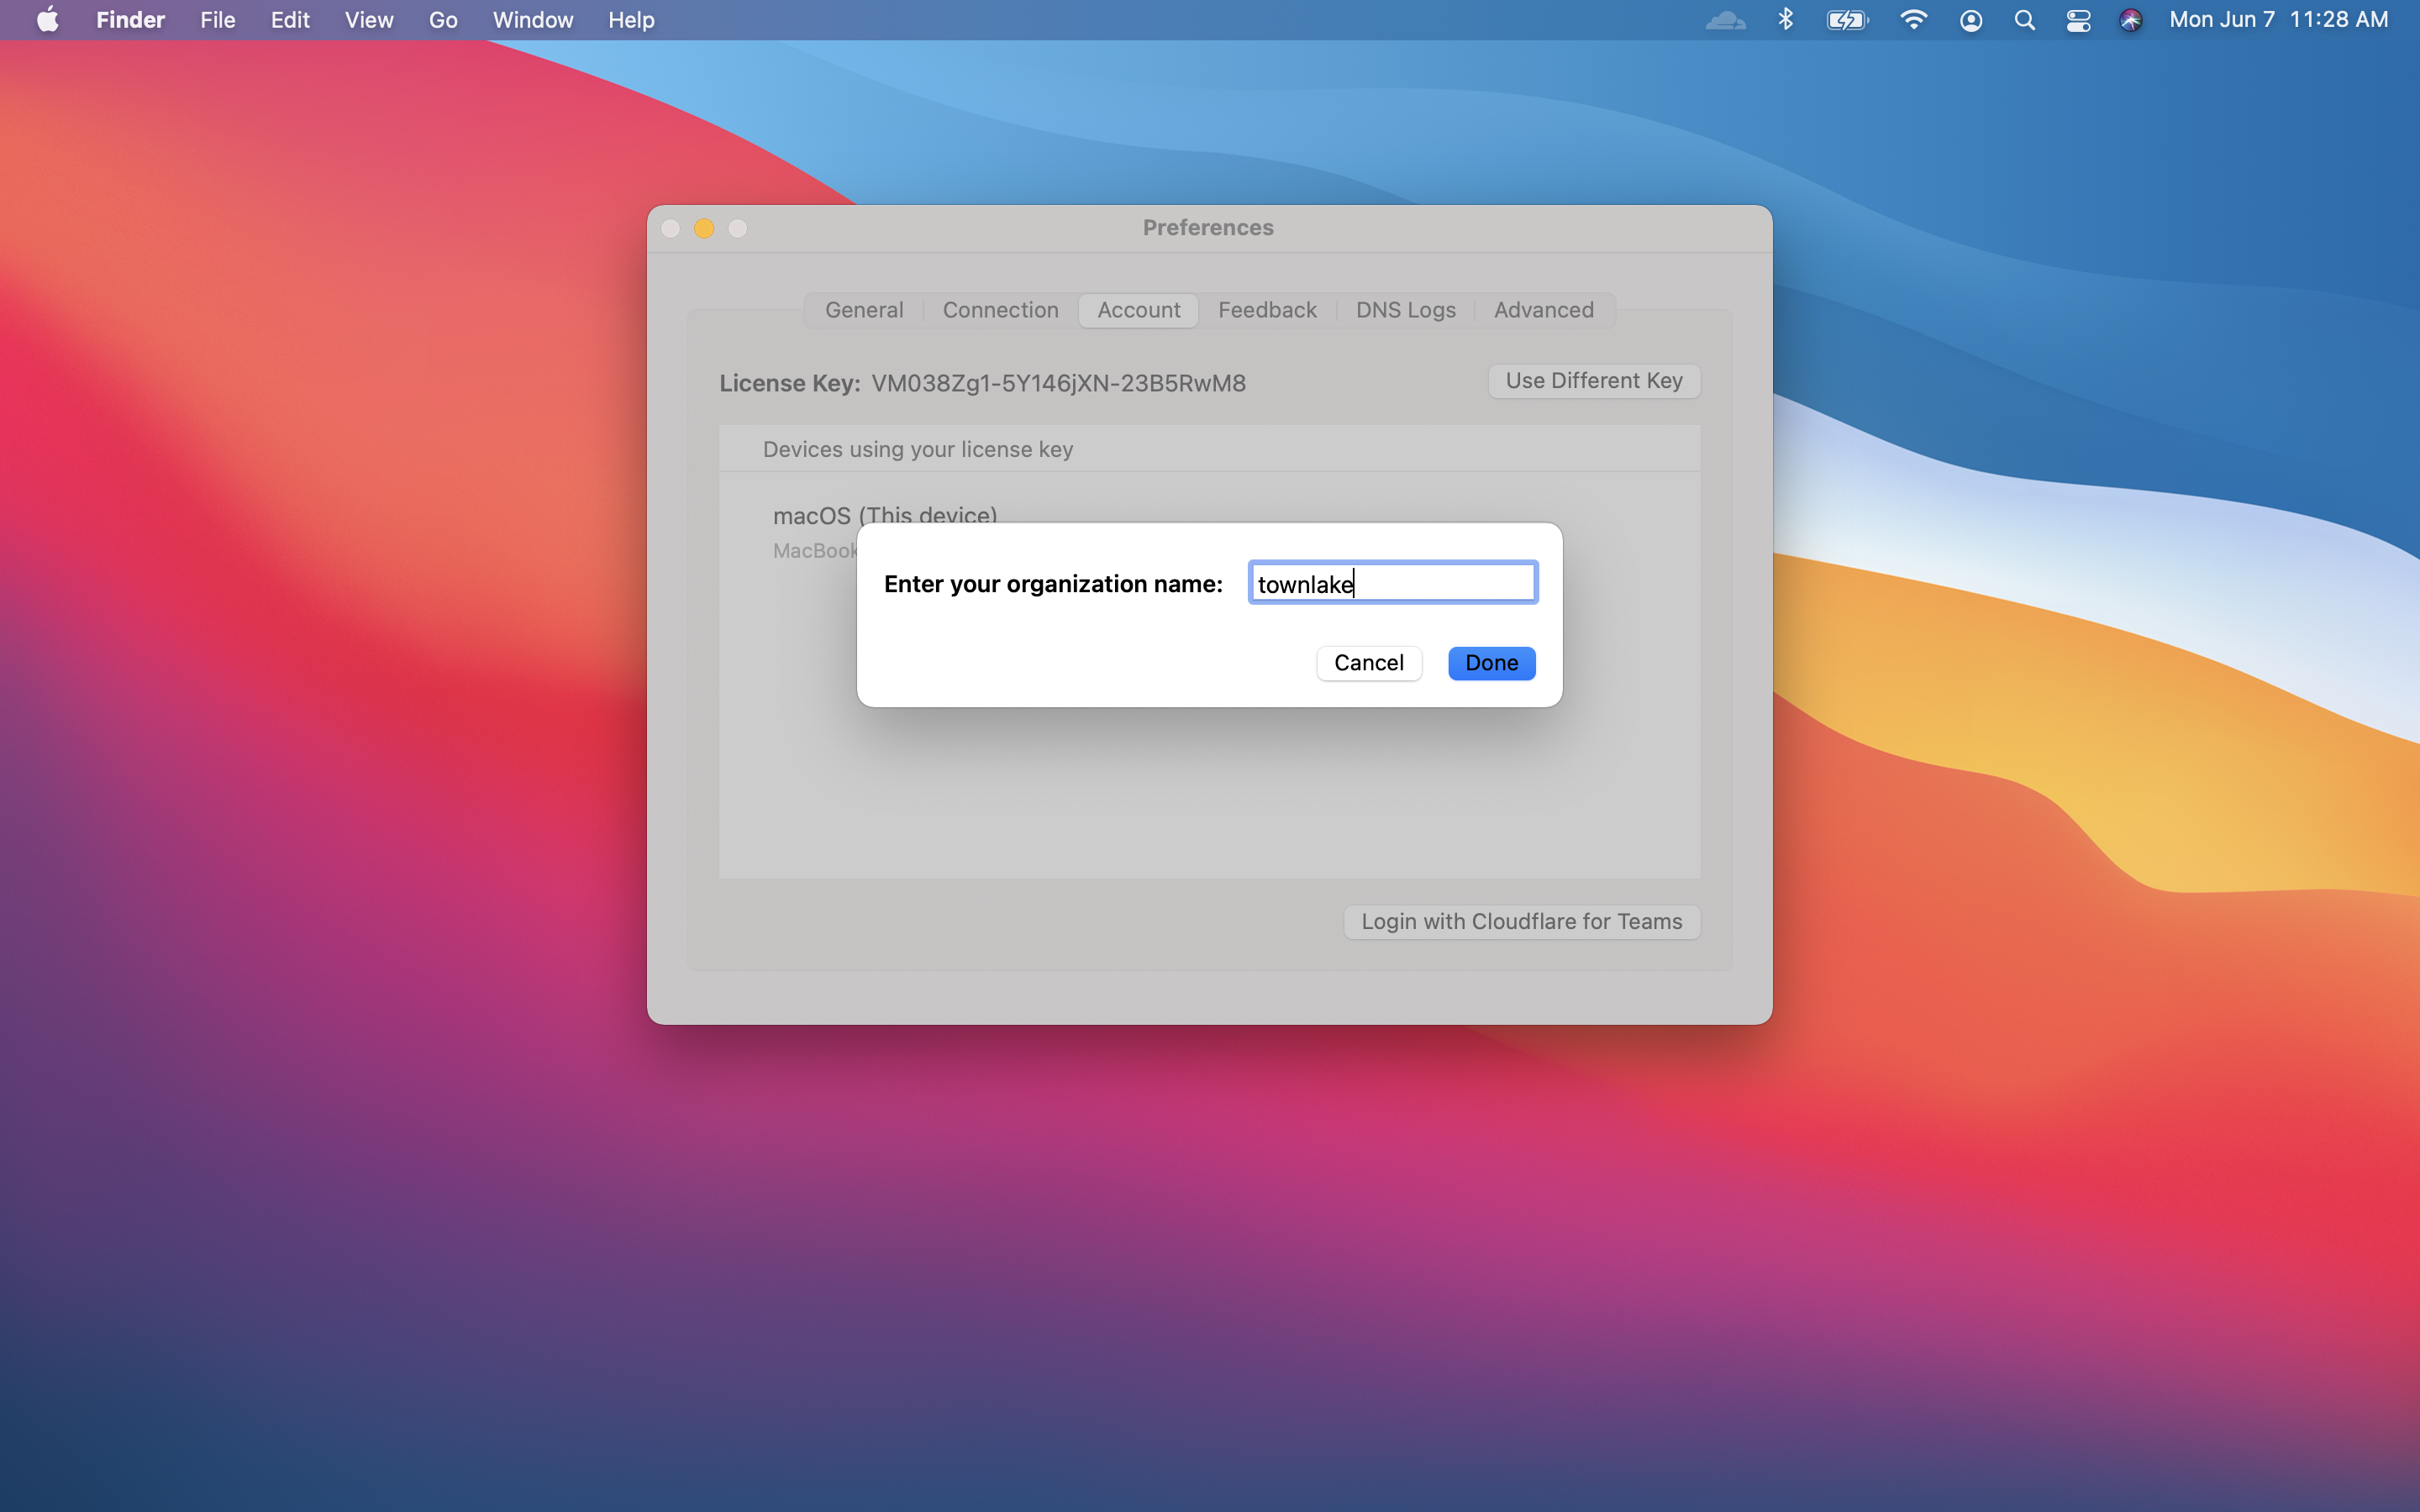
Input your team name . You can find it on the Zero Trust Dashboard under Settings > General.
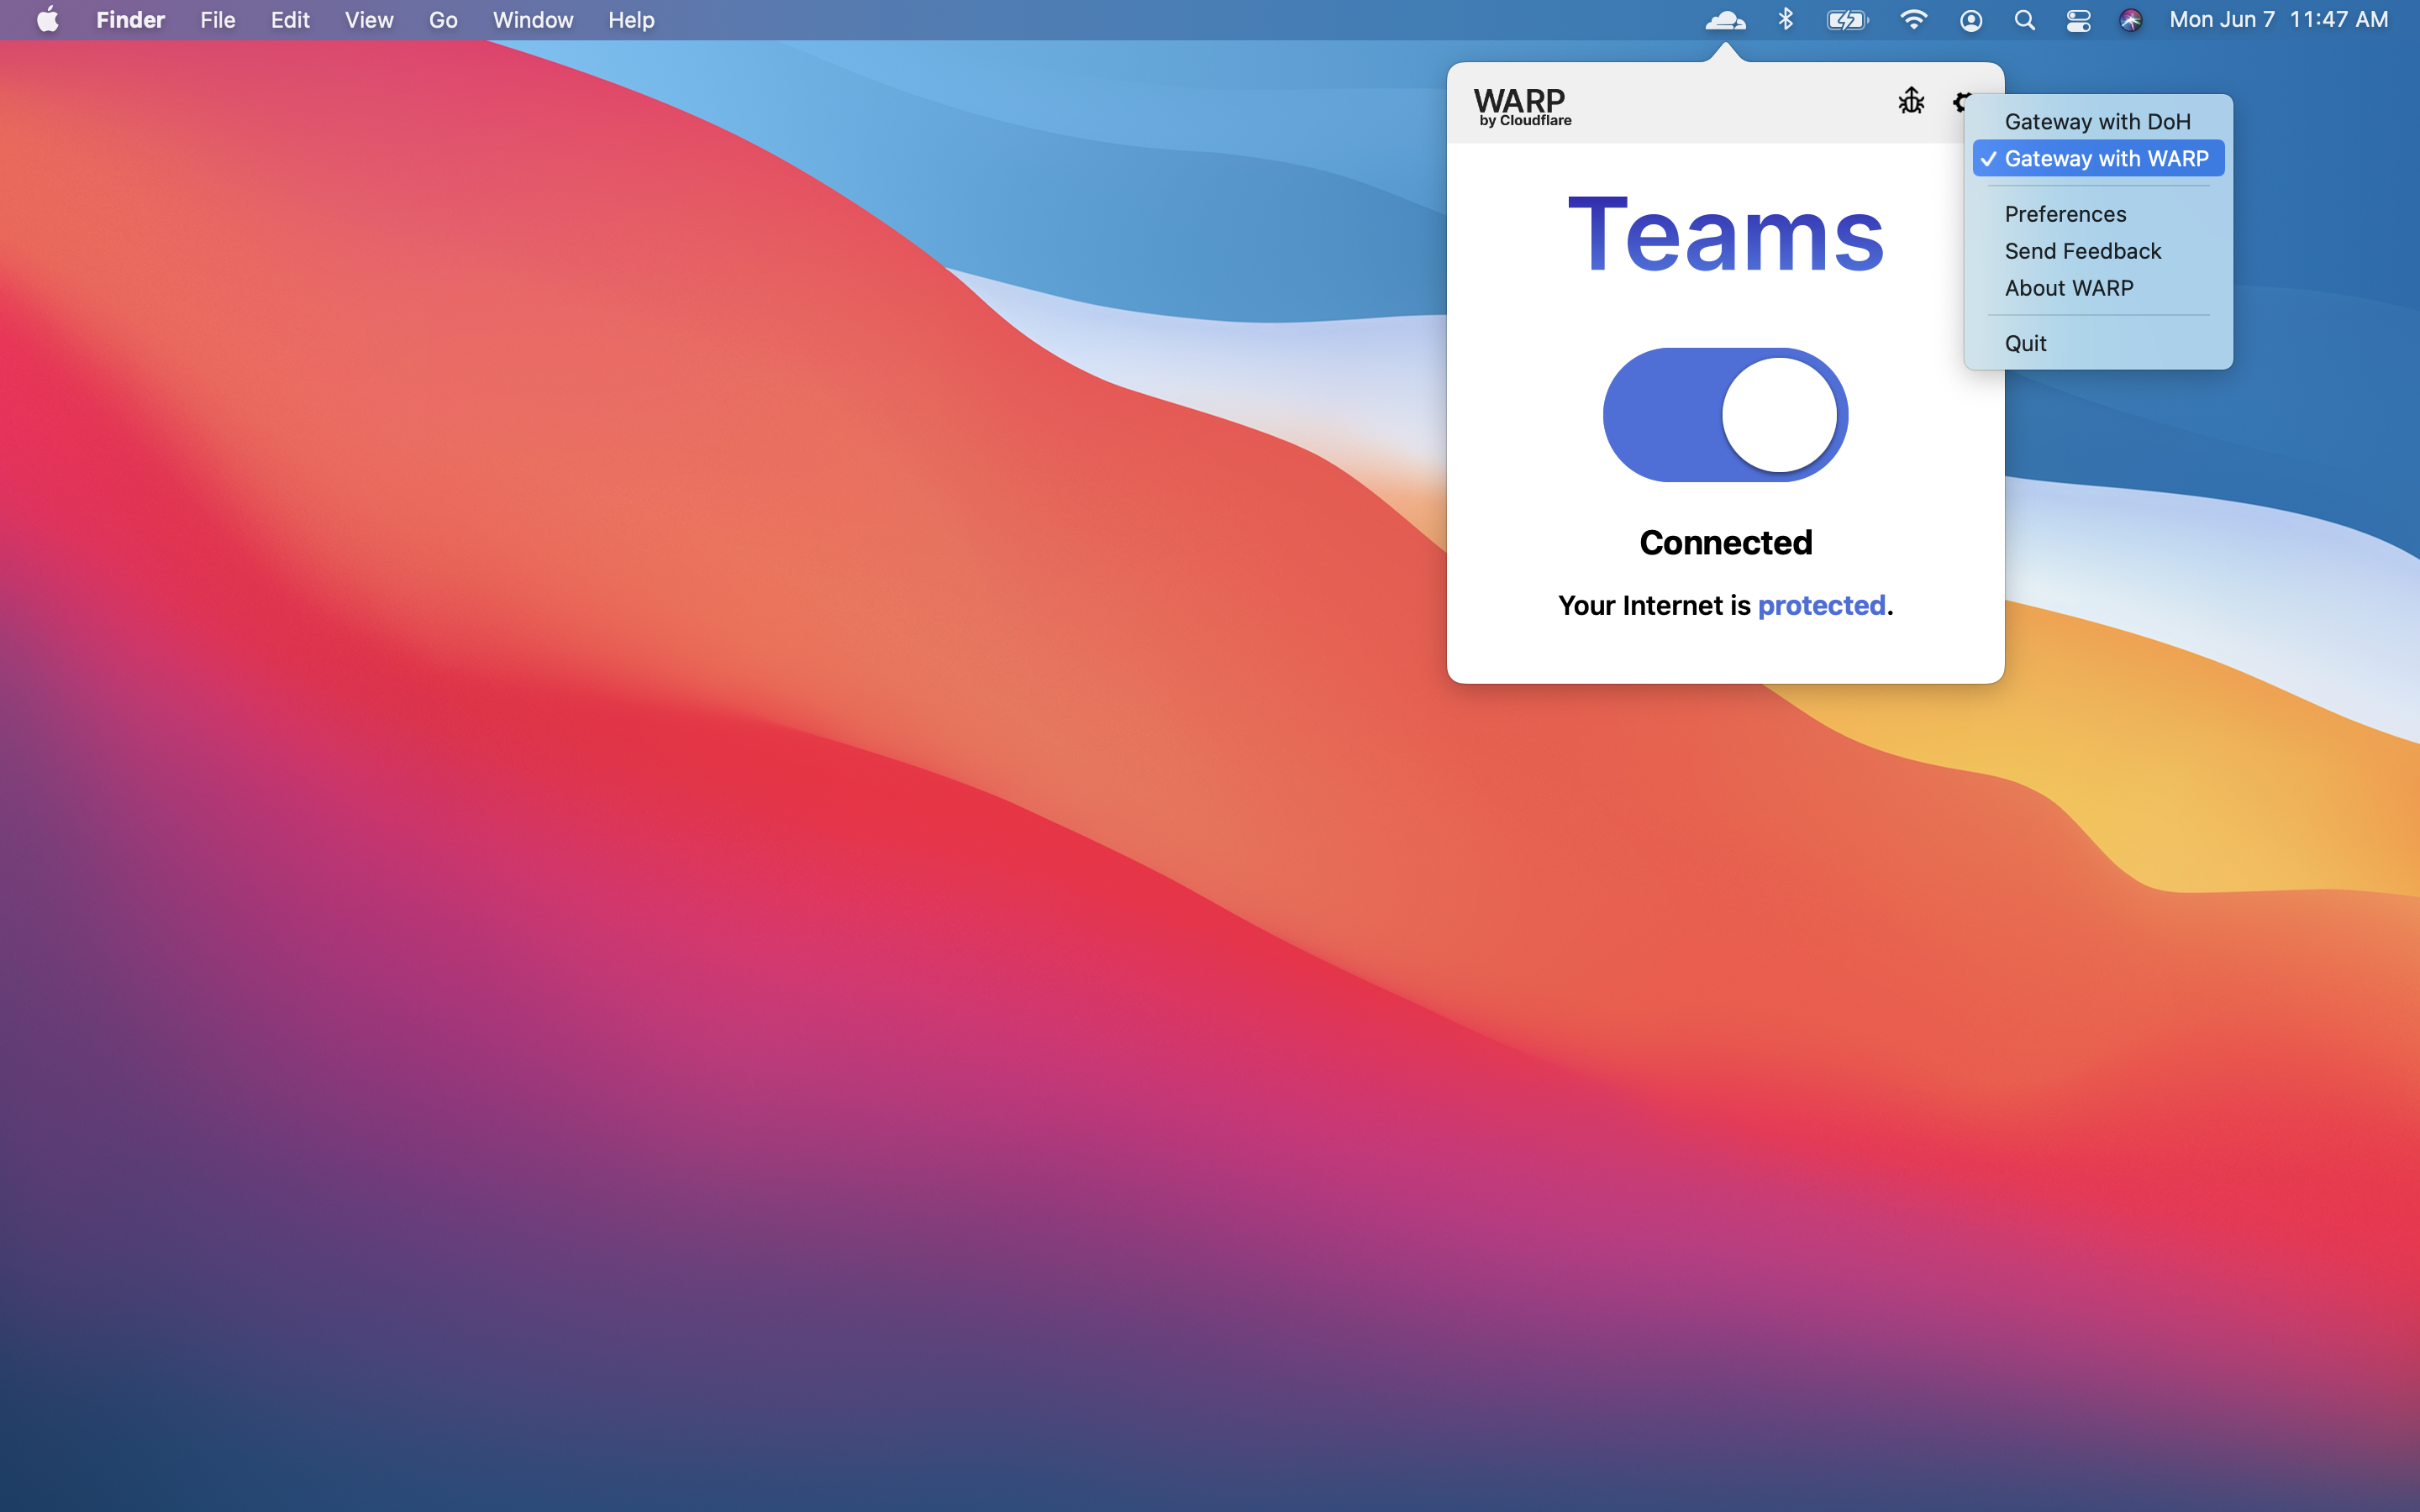
The user will be prompted to login with the identity provider configured in Cloudflare Access. Once authenticated, the client will update to Teams mode. You can click the gear to toggle between DNS filtering or full proxy. In this use case, you must toggle to Gateway with WARP. These settings can be configured globally for an organization through a device management platform.
Connect via WARP
Once enrolled, they will be able to connect to the private IPs configured for HTTP traffic in this example or arbitrary TCP traffic.